Saturday, June 9, 2007
Nothing doing.......
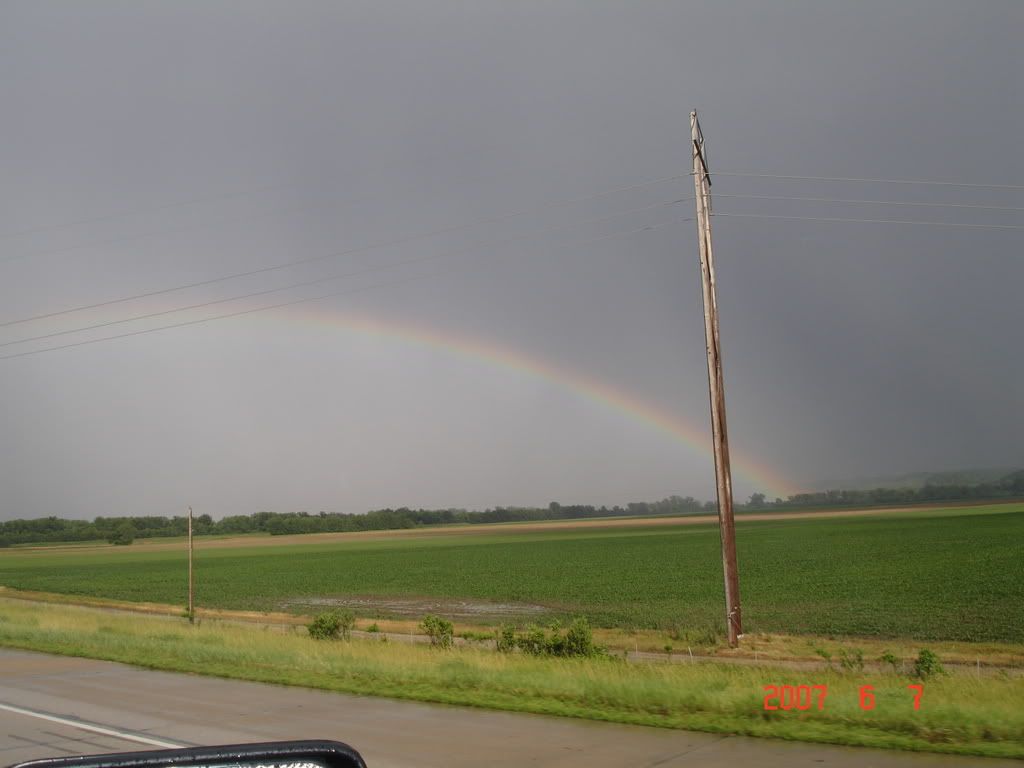
Sorry for the delay in post's. I recently went out of town to visit my railroad wife friends and had a BLAST!!!! We got completly drenched in the rainfall that hit MO this week. But...we had fun and got a beautiful rainbow out of it. Here is a picture of our rainbow!
I am hoping to get some things created soon, have to do some cleaning and get groceries first today!
If you are looking for some great card ideas, check out this link on twopeas....
http://twopeasinabucket.kaboose.com/pg.asp?cmd=display&layout_id=1110627
there are some great card sketches on here. (sorry you'll have to copy and paste, my link button is not working) I'd love to see what you create!
I'll be back tonight or tomorrow with something I've done! Have a great Saturday!
Tuesday, June 5, 2007
Wow!!! Stamp Swap Challenge
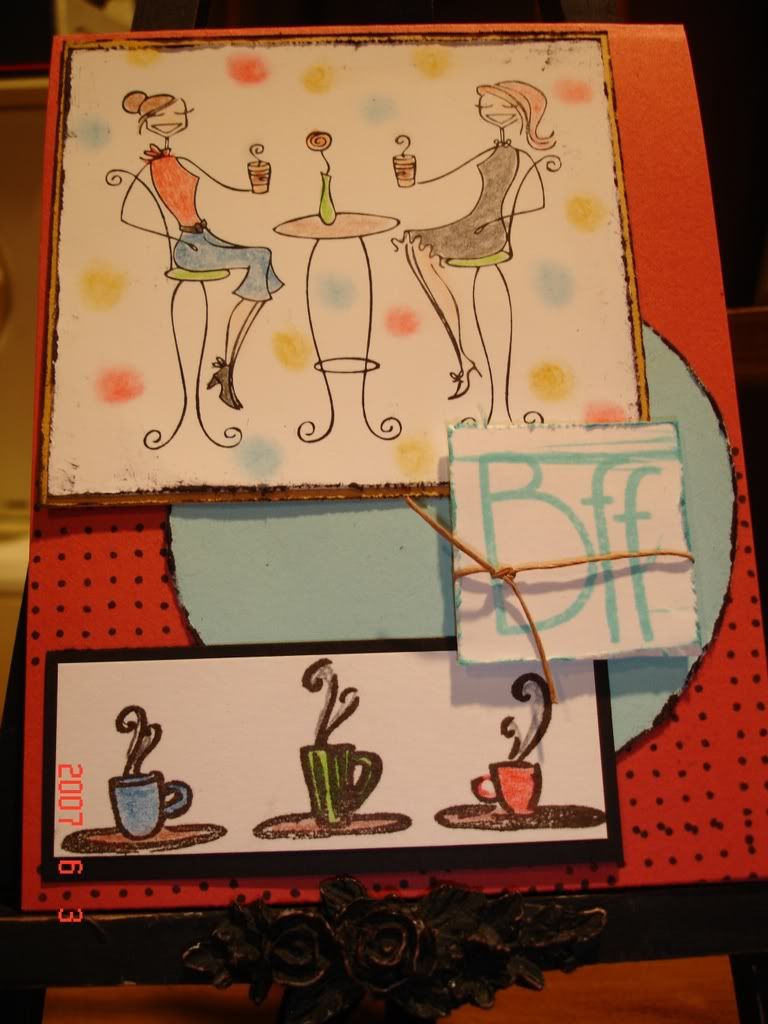
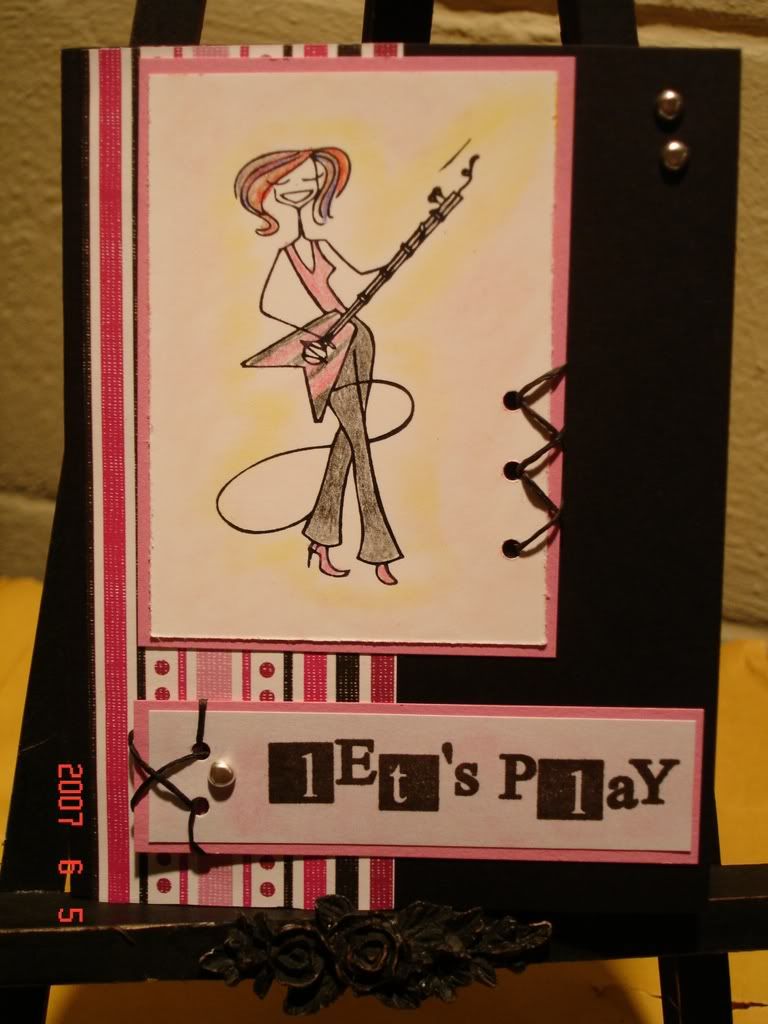
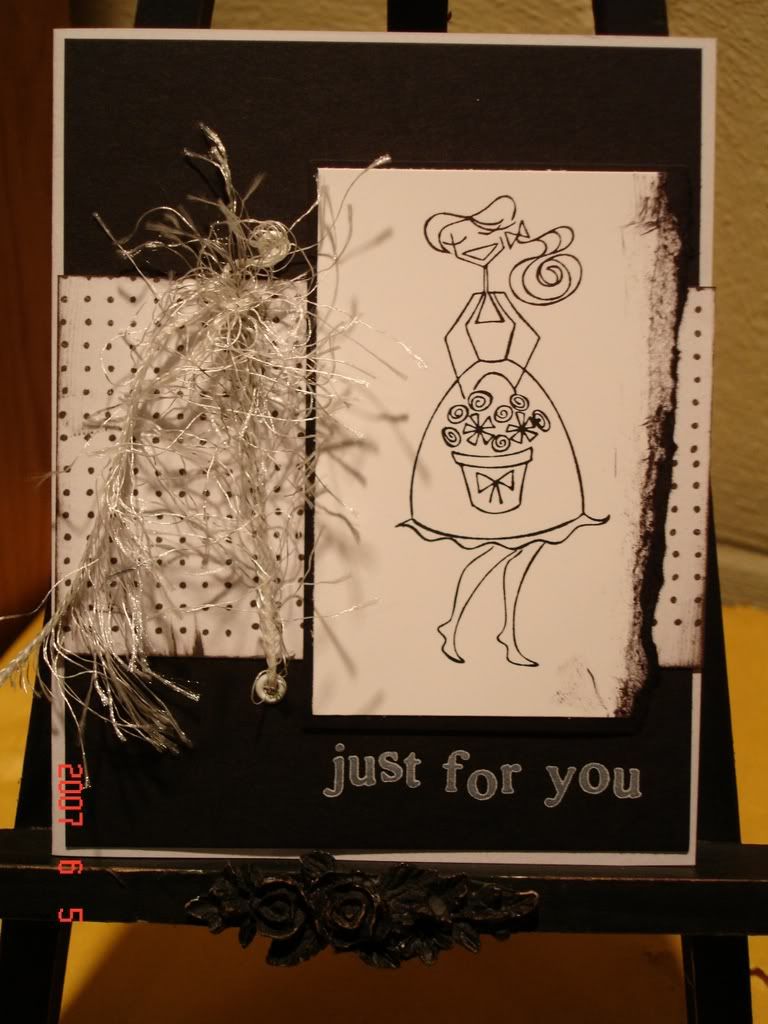
I have the most wonderful cousin! She is a huge stamper and a Stampin Up demonstrator and a wonderful card maker! Her stuff should be in magazine's! She was the one who inspired me to start this blog after seeing how cool her's was. So here I am!! So we got this bright idea that we would swap a few of our stamp set's and see what we came up with. She is mostly all SU. I am mostly Close To My Heart or clear acrylic stamps. So this was challenging. We also gave each other a few of our BELLA images. If you don't know what Bella's are, check out their website at http://www.stampingbella.com/index.php
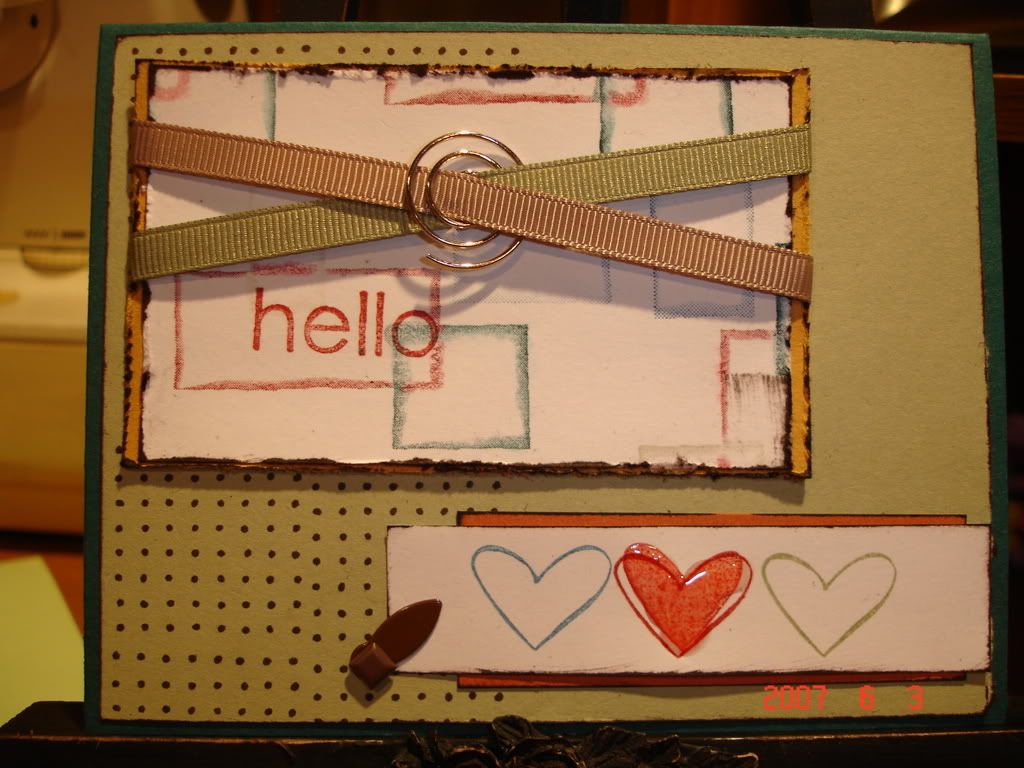
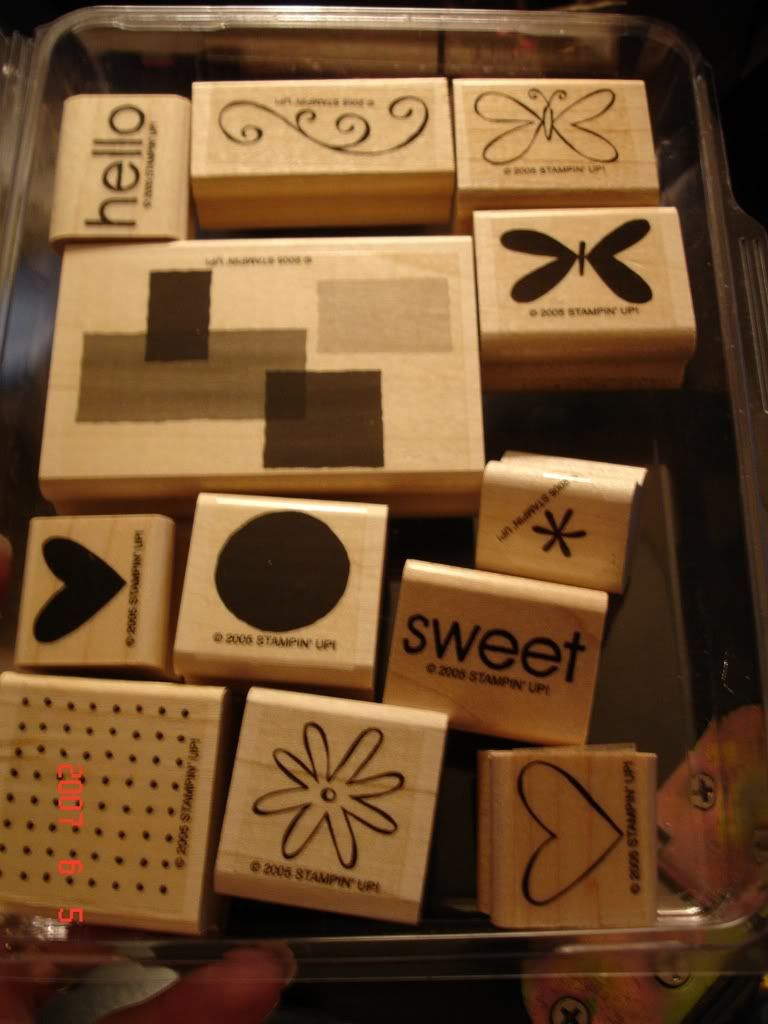
The stamp set she gave me was from Stampin Up and it was called Sweet Shapes.
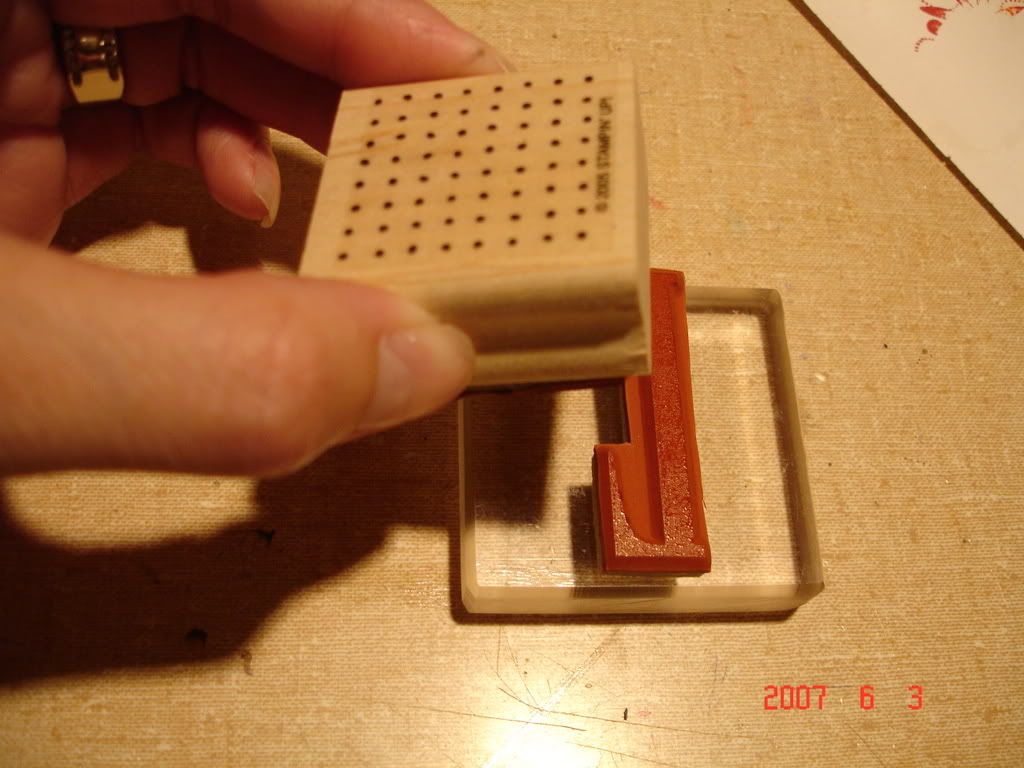
It has been a LONG time since I played with wood mounted stamps and while I love the red rubber images, it made me really happy I deal with mostly clear stamps. Here are a few things I made with this set.
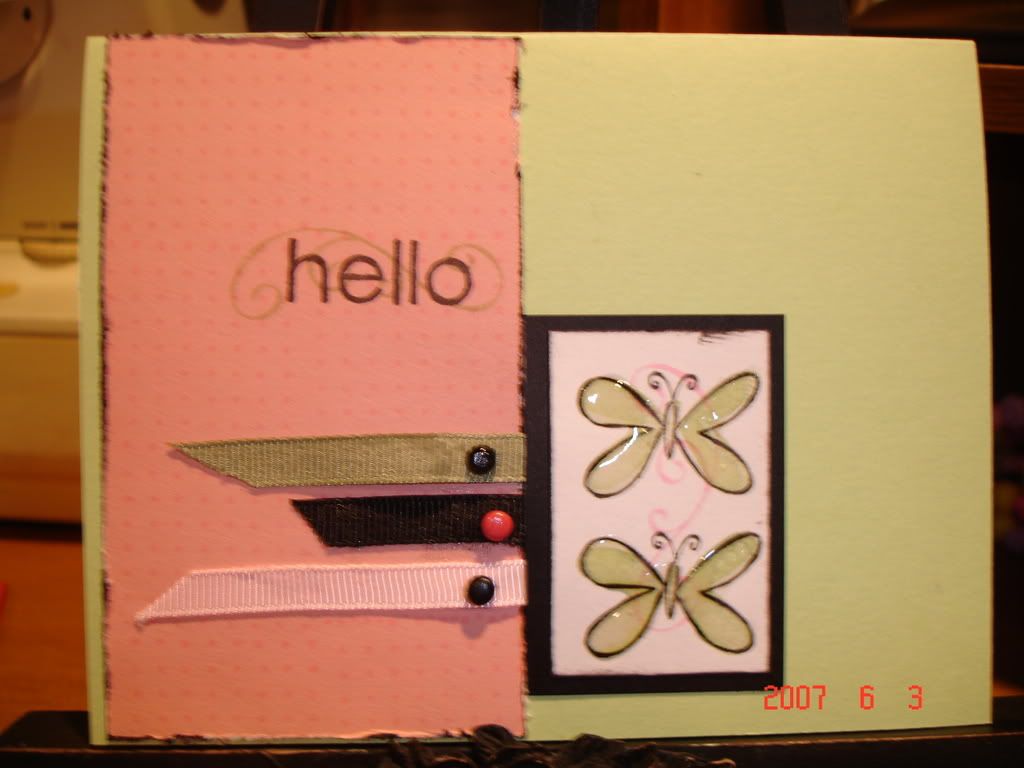
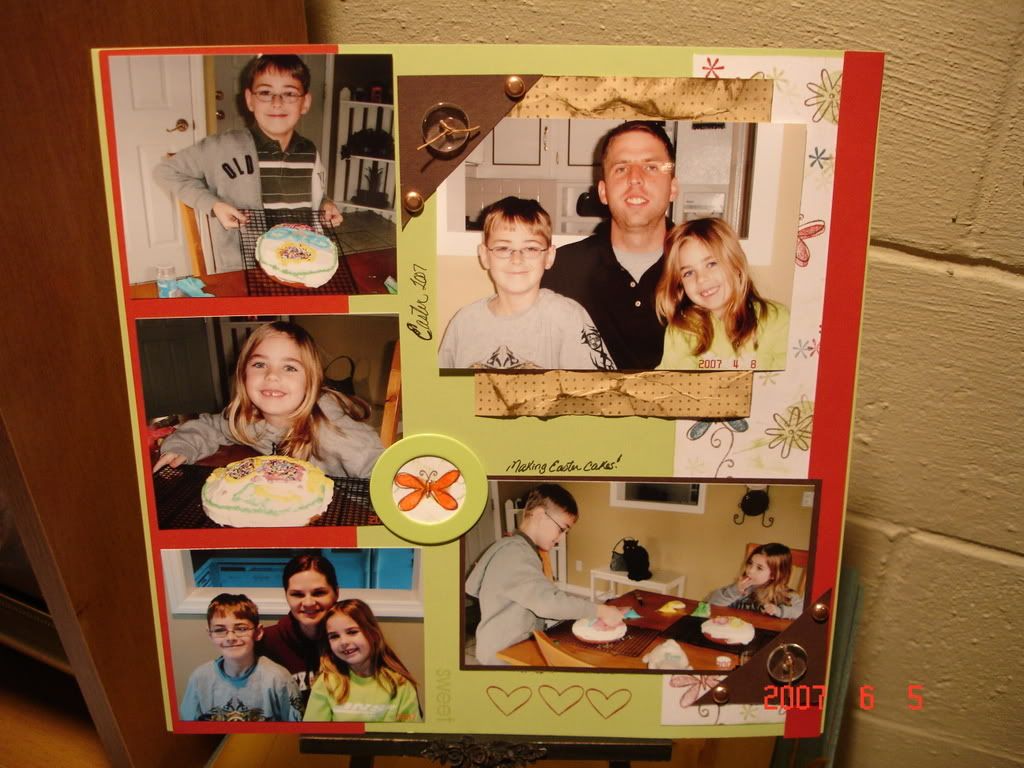
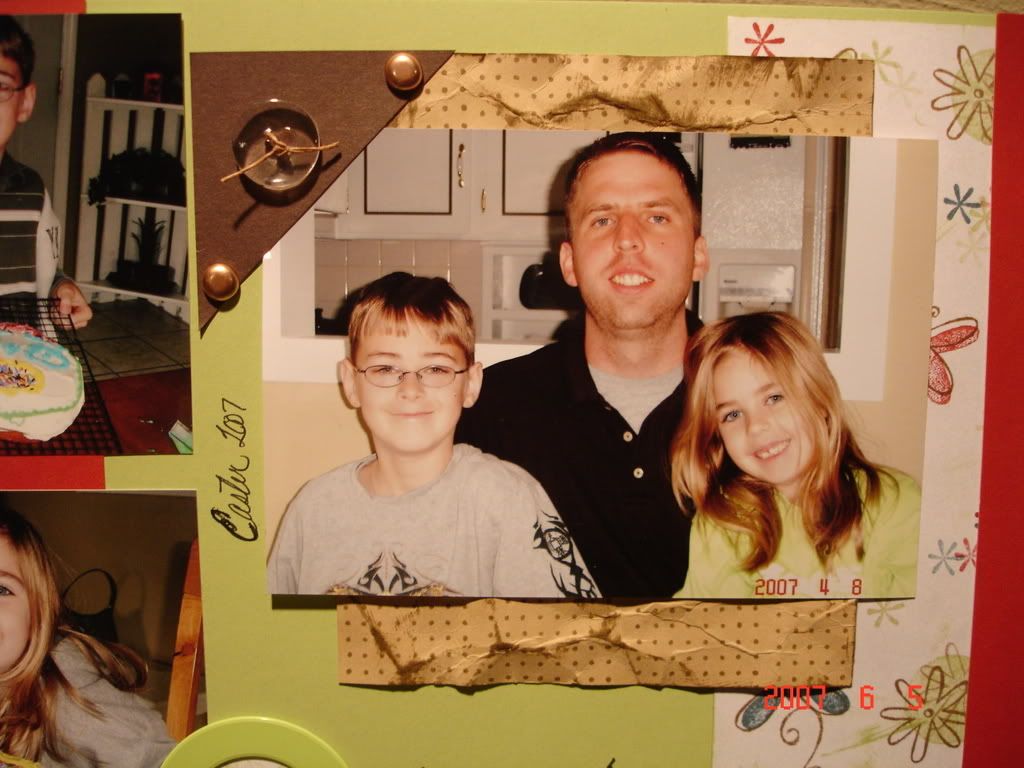
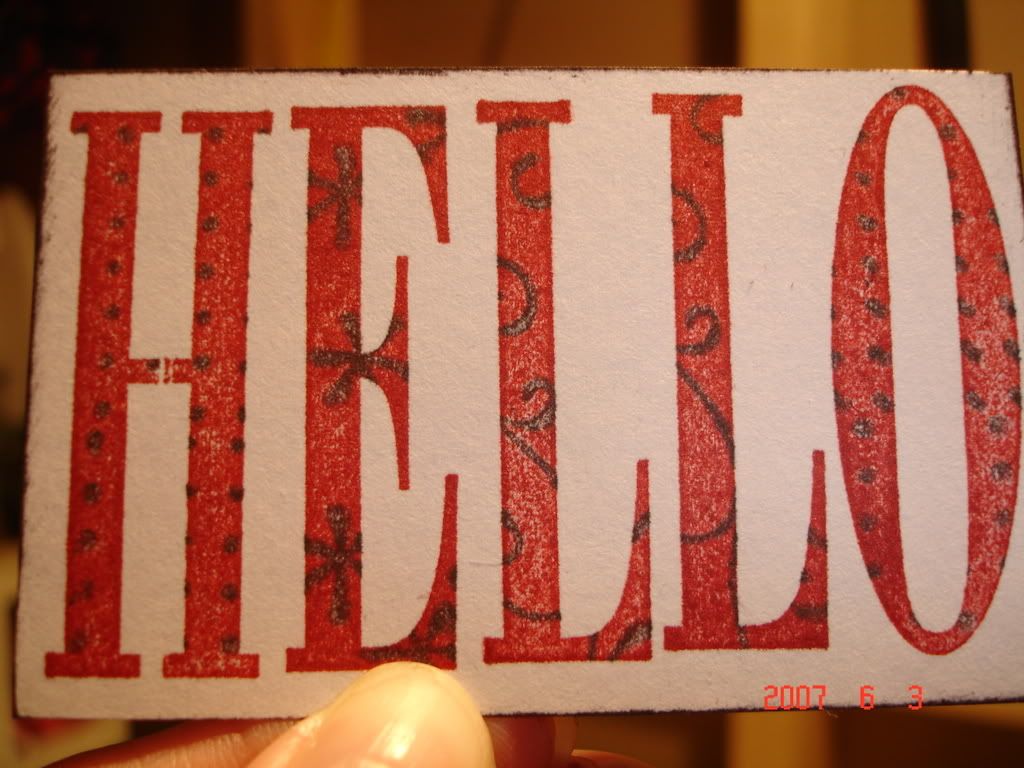
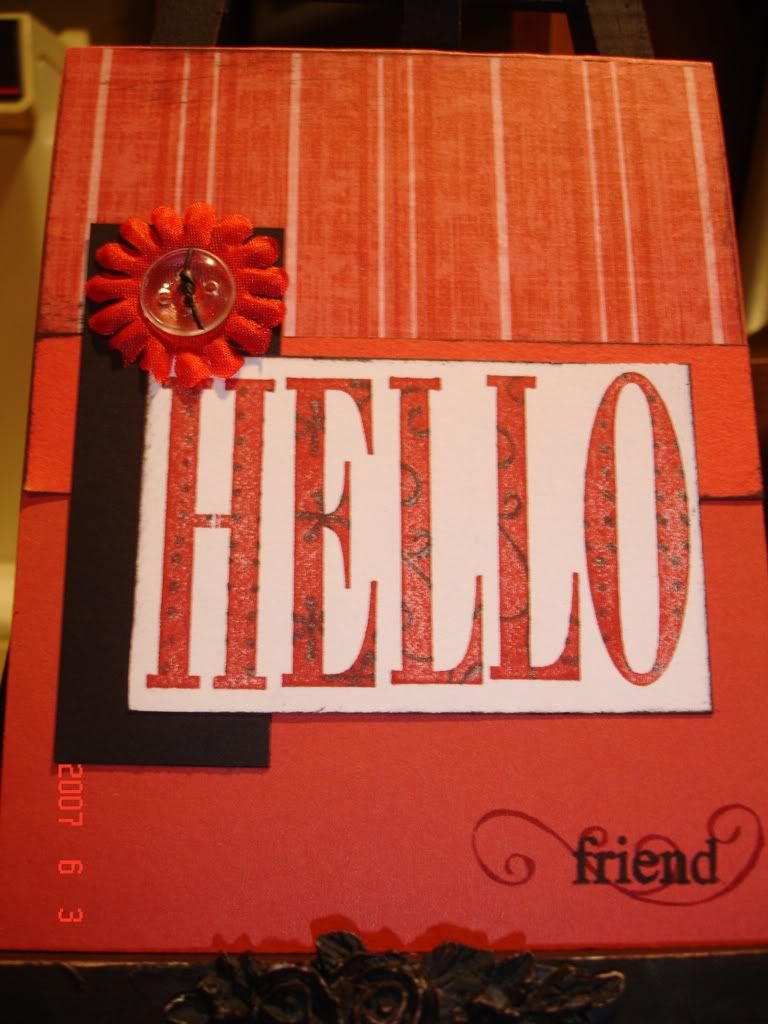
Ok, those first two are cards that I made with the stamp set. The next two are a 12x12 layout that I made with only the stamp set. It was a little difficult as I usually do a bit more with my layouts, but it did not turn out too bad. I fell in love with the dot's in the stamp set and used them on all the cards that I made this week. You can see I used them in the previous post, infact, all of the letters in the HELLO card have that stamp set used on them. The dots and the swirl.
I also used the dot's on two of the three Bella cards that I made.
This third Bella I made was my little challenge. It is so obvious that you have to color in the Bella. But I wanted to try to make one that I did not color in the image. I went with all black and white. What do you think. I am still so tempted to color this sucker in!
Ok, so there you have it. That is what I came up with with my cousin's stuff. I am so excited to see what she did with my stuff. No doubt she'll leave me in the dust! We had no idea what we were each going to make, so this should be intresting. Bop on over to her blog with me and check it out! She is on the right hand side of your screen, under Places I Go For Inspiration, she is the one that say's My Stampin Smiles. Just click on that or go to http://www.basementstamping.typepad.com/
Hope you enjoyed that little challenge! I did!!
Monday, June 4, 2007
Make It Monday
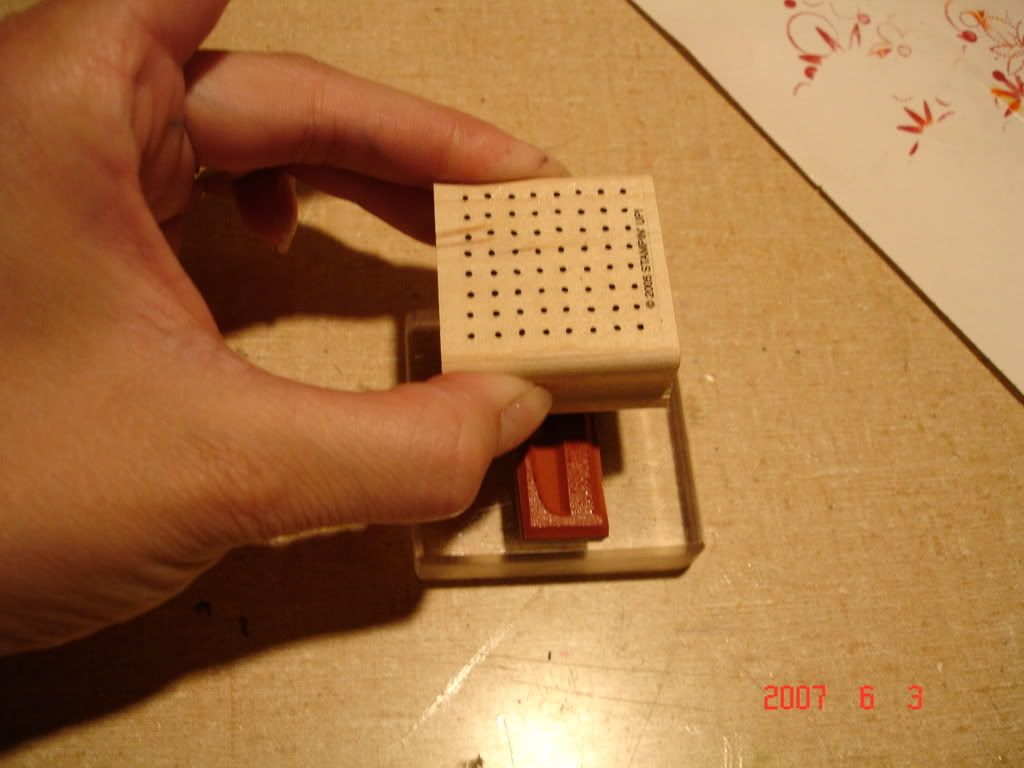
KISSING!! That's what I'll be doing today. Before you start to pucker up, let me tell you what it really is. It is a stamp technique, and a pretty easy one at that, that will allow you to add texture to a solid stamp.
You start off with a solid stamp. I used my alphabet's in this demo. But anything would work, a flower, square, leaf, anything that you have that has a solid image when stamped. You will also need 2 coordinating colors.
Ink the solid stamp in the lighter color.
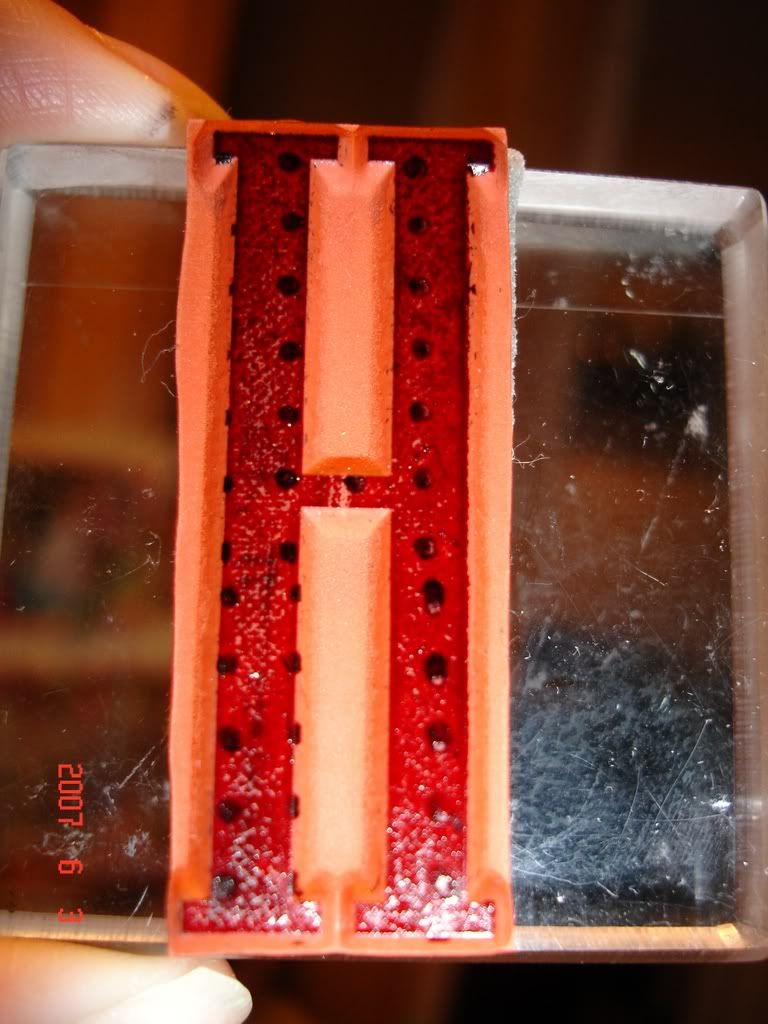
Then ink a smaller stamp (any stamp) in the darker color. Using your small stamp, actually stamp onto the solid stamp. (Stamp your small stamp with the darker color on it, onto the solid stamp with the light color on it.)
It should look something like this when it is done.
Stamp the solid stamp on cardstock. This is what my letter's look like when I am all finished with them.
Next, all you do is finish your card! So easy! Hope you enjoy your week! Stay tuned for a special post I will be posting on Wed!!!
Subscribe to:
Posts (Atom)