Thursday, October 11, 2007

Post 96!!

Front:

4 more to go before blog candy!!
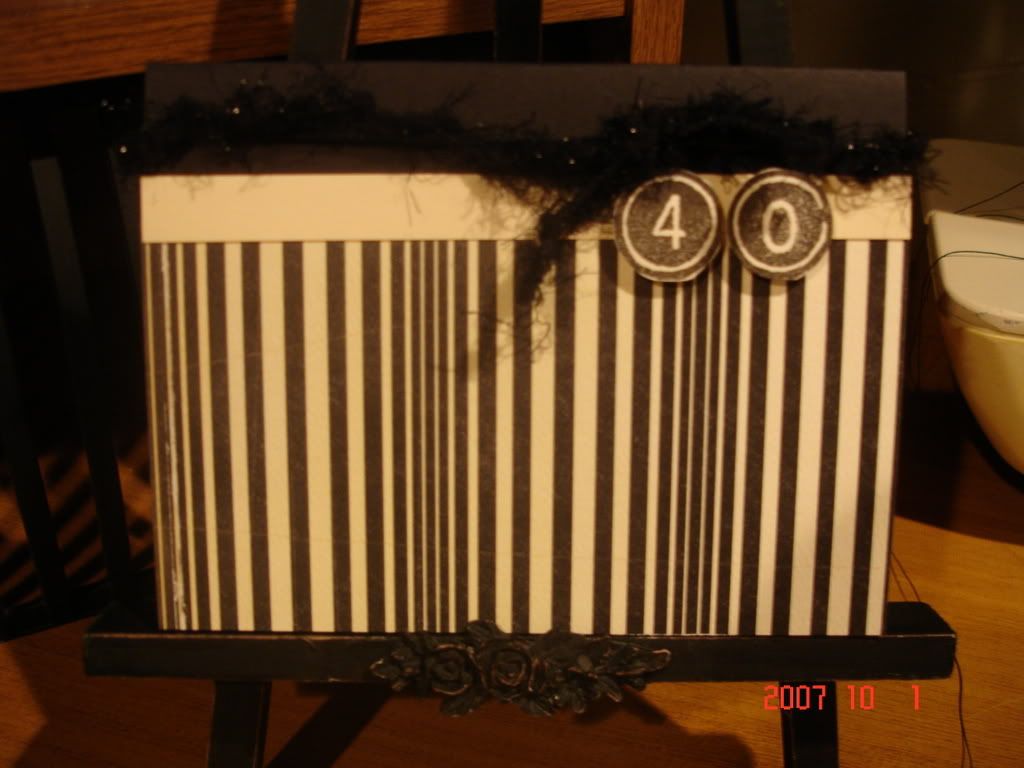
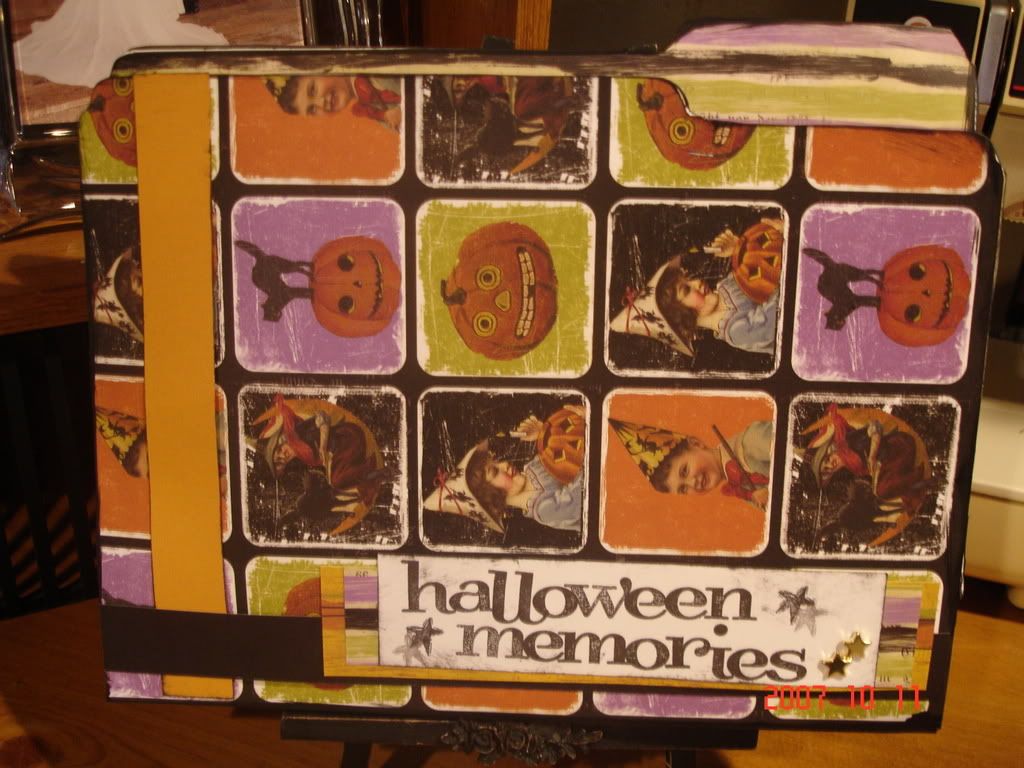
Tonight I am posting a little Halloween folder album I made. I participated in a Halloween swap on Simone's blog. (Daily Dozz of Spazz on the right).
We had to spend $15 on Halloween stuff, and also send one homemade item. And this is the homemade item I made for my swap partner. (I gotta get this thing in the mail tomorrow!!)
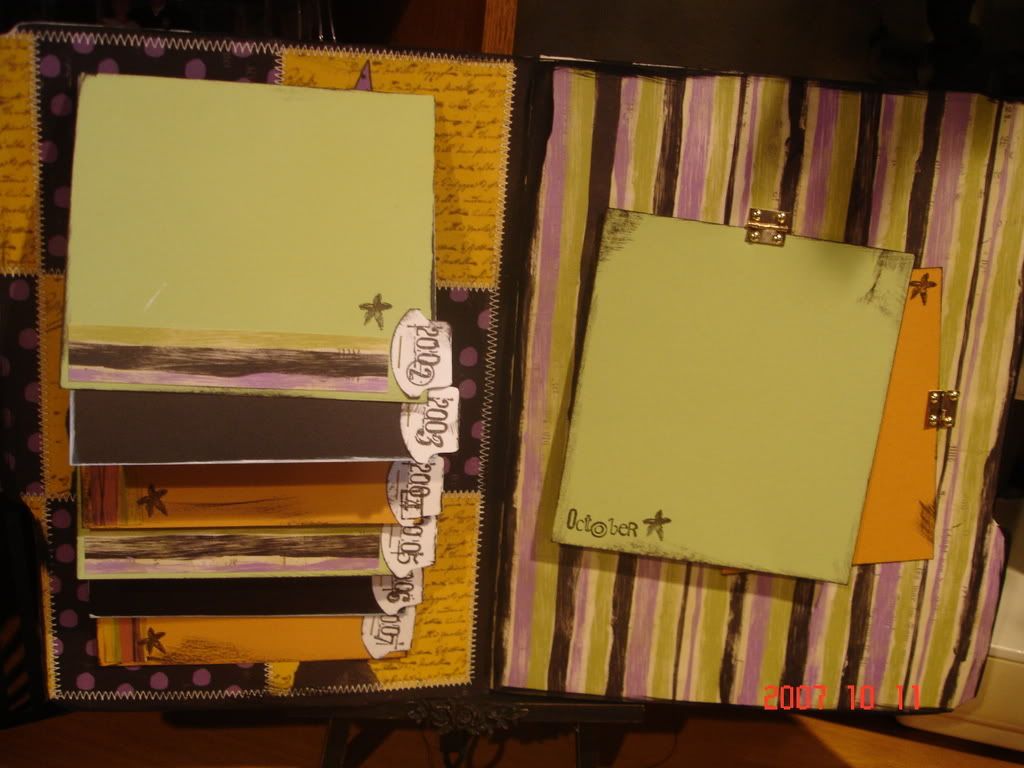
It is made out of a regular manilla folder. I used all Rusty Pickle pattern Paper. CTMH stamps and Autumn Leaves for the dates.
I really wanted to decorate one of those clear paint can's, but was not sure how I would mail it!!
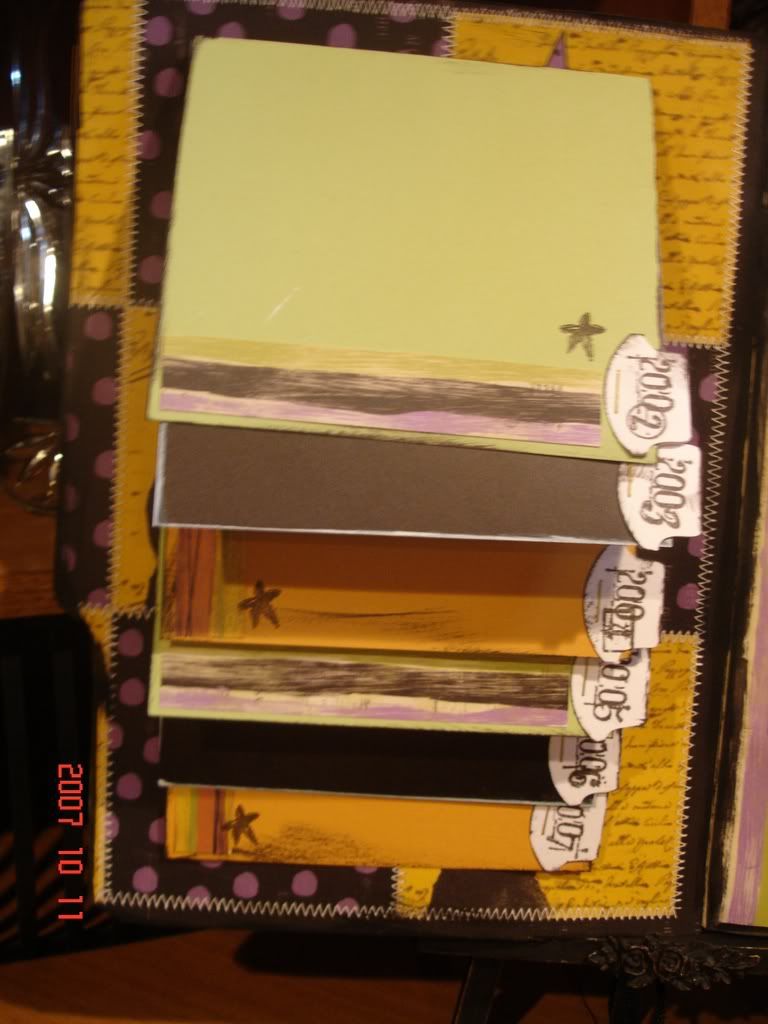
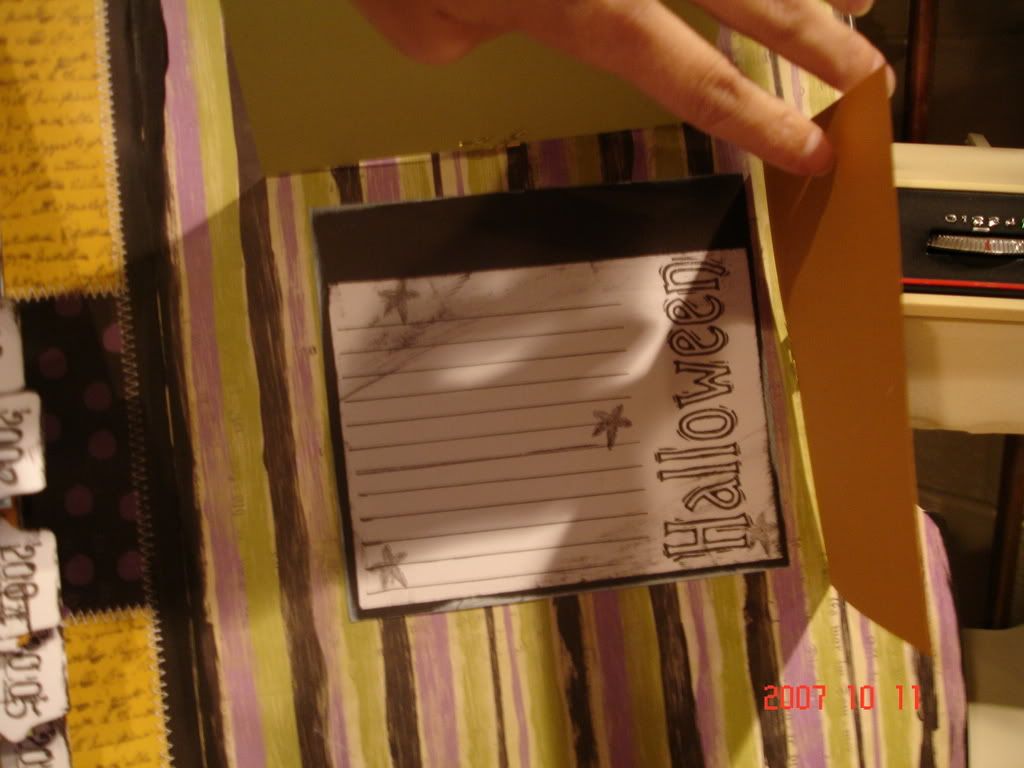
Anyway, I have a little tab for the last few years starting with 2002 and ending with this year. She can put a picture or journaling there if she would like. Then on the other inside flap, there are 3 parts. I have the green piece, she can put a photo on, opens up to the orange piece, (another photo) opens up to a little hidden journaling square.
Hope she likes it! Thanks for looking!


Tuesday, October 9, 2007

2 cards


Just two quick cards today. The first one I made for my son's best friend. They take Kuk Sool Won together. I used the same color and stamp as I did for the Make it Monday. I like that stamp. It is the first time I have used it. It is from CTMH. Paper was CTMH also.
And the second card was the one I made for my in-laws 40th anniversary. I used Crate Paper and CTMH stamps for the #40. I used the same paper so that it would match the canvas I made them. Pretty simple, that's about all I've been up to. Thanks for looking.

Sunday, October 7, 2007

Make It Monday

Just an FYI, this is my 94th post! Look for some blog candy when I get to 100!!

Today's Make It Monday is called the Reflection Technique. To start with you will need a stamp, some ink, cardstock and a piece of Acetate. Now, I did not have any acetate. So I improvised, as we in the craft world tend to do. I used clear packing tape! Just folded over so there was no sticky side.

First thing you will want to do is stamp your image on the cardstock.

Next you will stamp your image (same image) on the acetate. Or in my case, clear packing tape. It was a bit slippery to stamp on the tape, but would not be on the acetate. Just be careful not to slide your image if you are using tape as I did.

Next, you will take your acetate and flip it over so that the image you stamped is facing down. Lining it up with your stamped image on the cardstock and gently rub. Your image will come off onto the cardstock.

You can now decorate your card as you wish. Beate did a wonderful tutorial on this over on Splitcoast stampers that I would highly suggest checking out.
http://www.splitcoaststampers.com/resources/reflection.php
And here is my finished card.
Enjoy and thanks for tuning in!