Saturday, June 2, 2007

Beate's Challenge

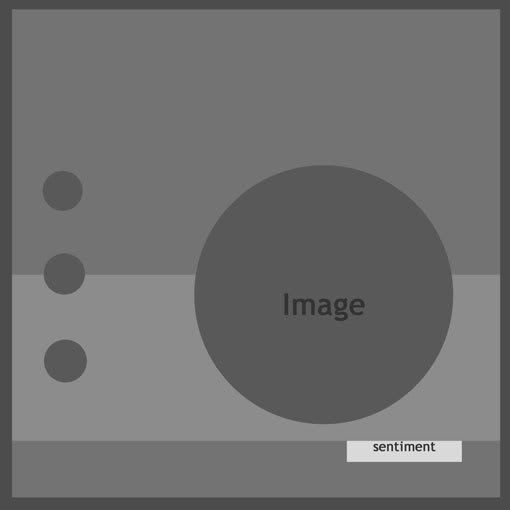
Over on Beate's blog, (http://beate.blogs.splitcoaststampers.com/) She had a card challenge. Using this sketch,

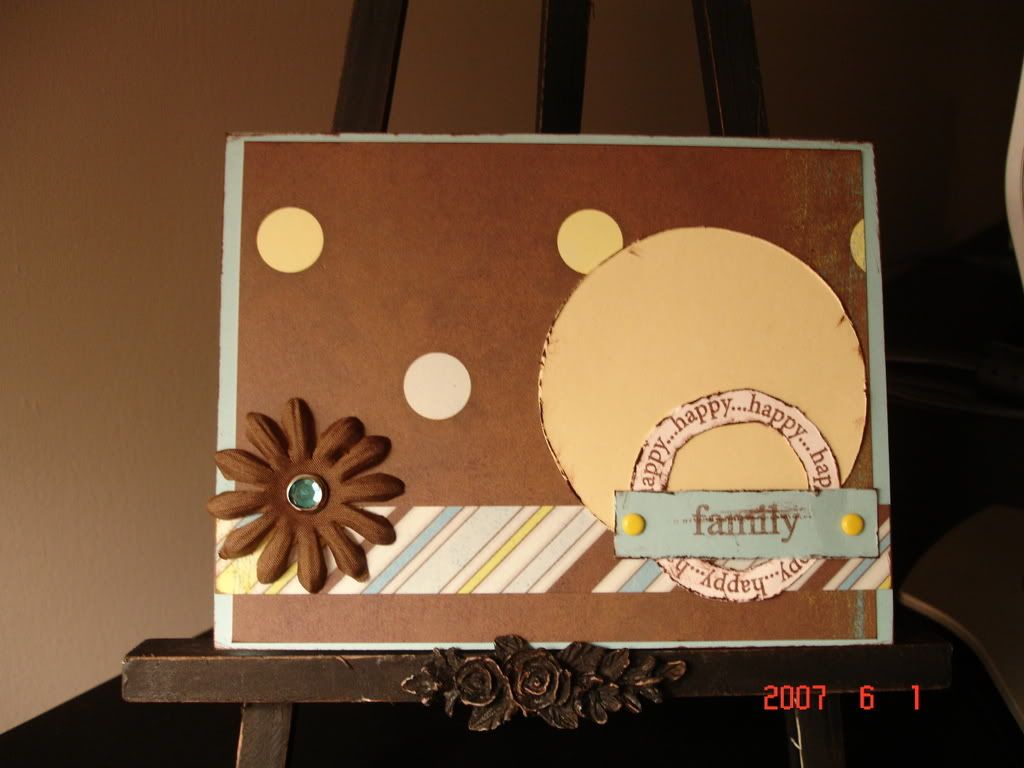
We had to make a card. So this is my card for the sketch. I had to change it up a bit, couldnt think of 3 things to put on the side, but like how it turned out anyway.
I love doing the card sketch challenges because that is the hardest part of coming up with a card idea for me, the basic design of the card. So these help me out alot! Thanks Beate!!

Friday, June 1, 2007

Getting ready....counting down!!

Getting ready and counting down to my Clost To My Heart big open house. I got a few door prizes made up this week. Thought I would share them here.
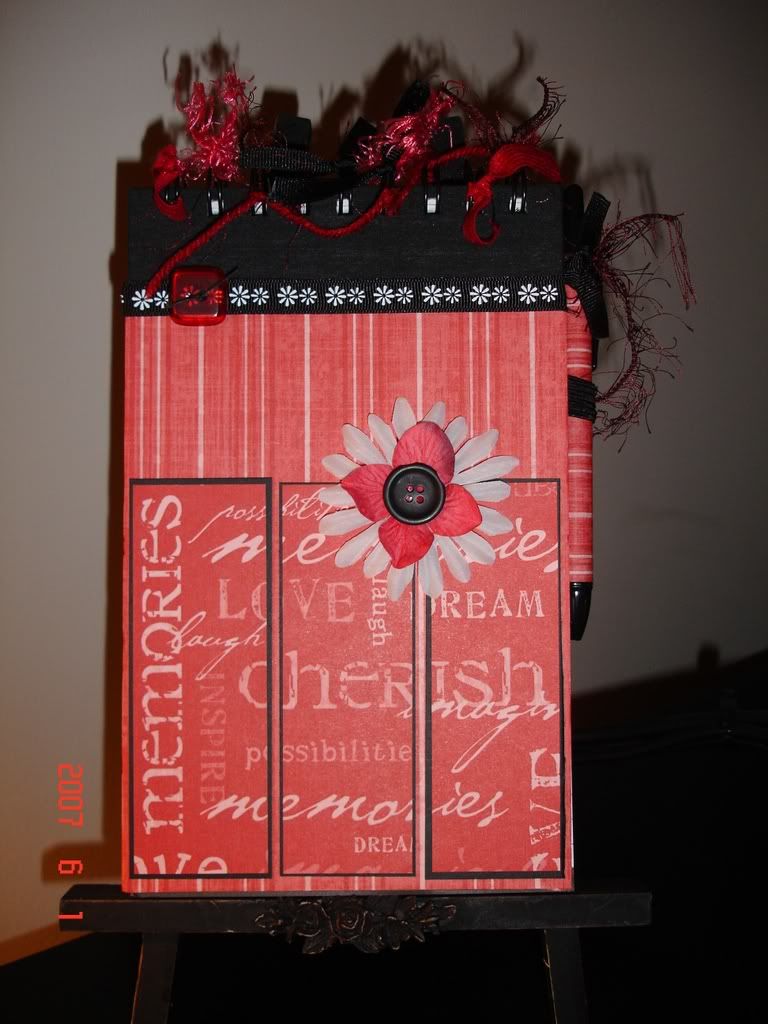
First is a notebook that I recovered. Using CTMH paper, I thought it was really neat. I liked the black and red together.I like it so much, I may make a few more.

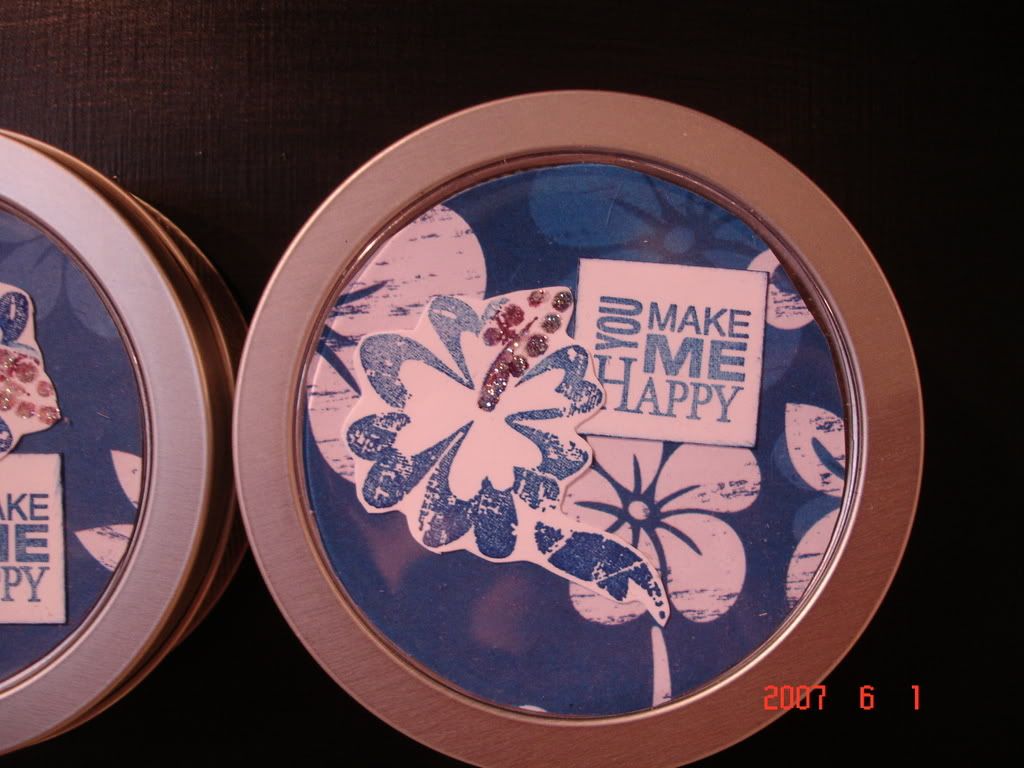
Next are these little magnetic holders that I found at Target. They are round and tin and hold stuff.I put some brads in them and refinished the front. I used CTMH stamps on this one. These are hanging on my metal cabinets now. The magnet is really strong!

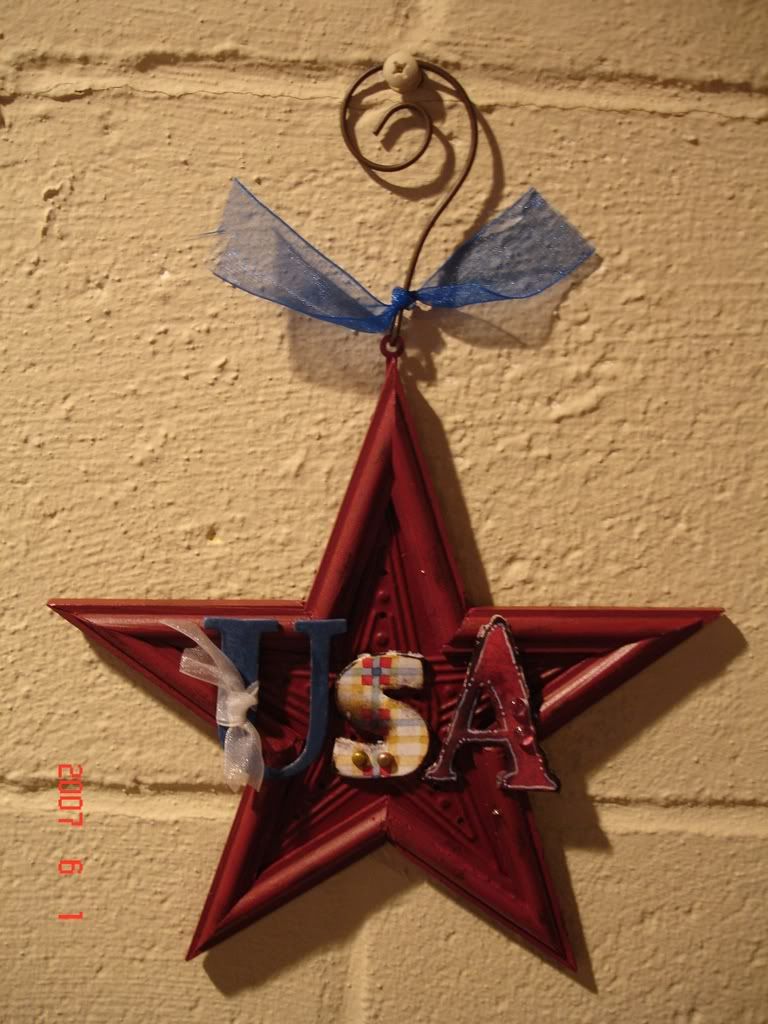
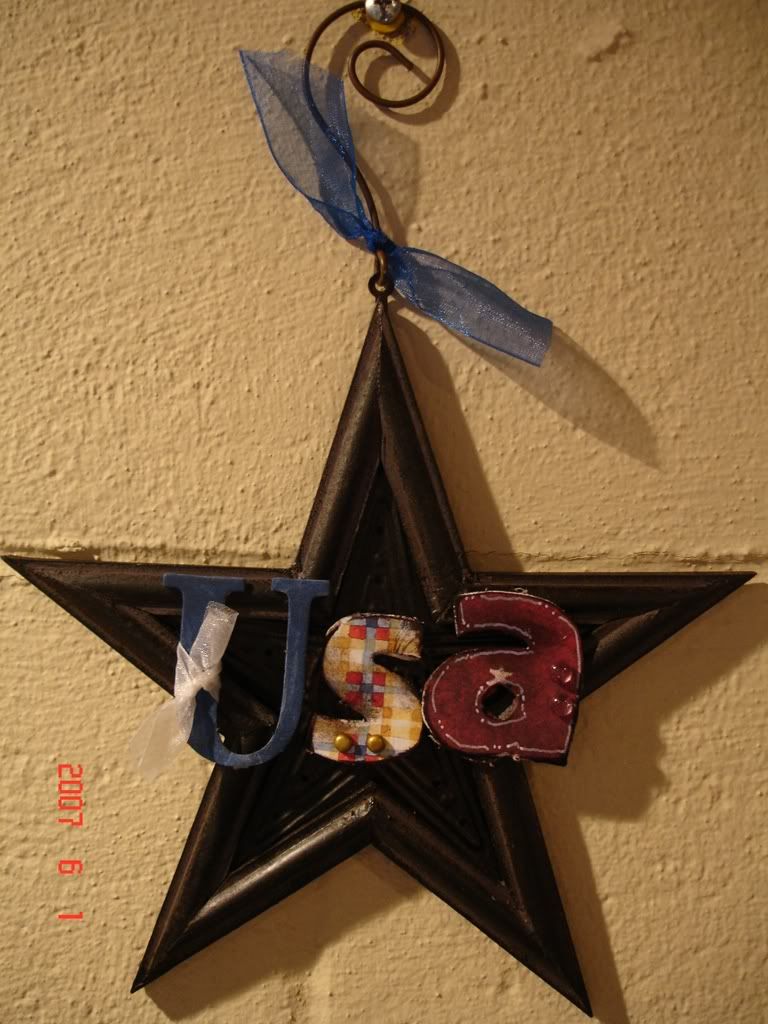
And last but not least, are these adorable little stars that I found at Gordman's the last time I was there. I could just see these with Chipboard USA on them. So I finally got them done this week.


Ofcourse I have a few other door prizes too that will be straight from the CTMH catalog. I can't wait. I am getting excited!!
(Dont' forget you can click on the picture to get a better view of them)

Tuesday, May 29, 2007

I Hate This!!

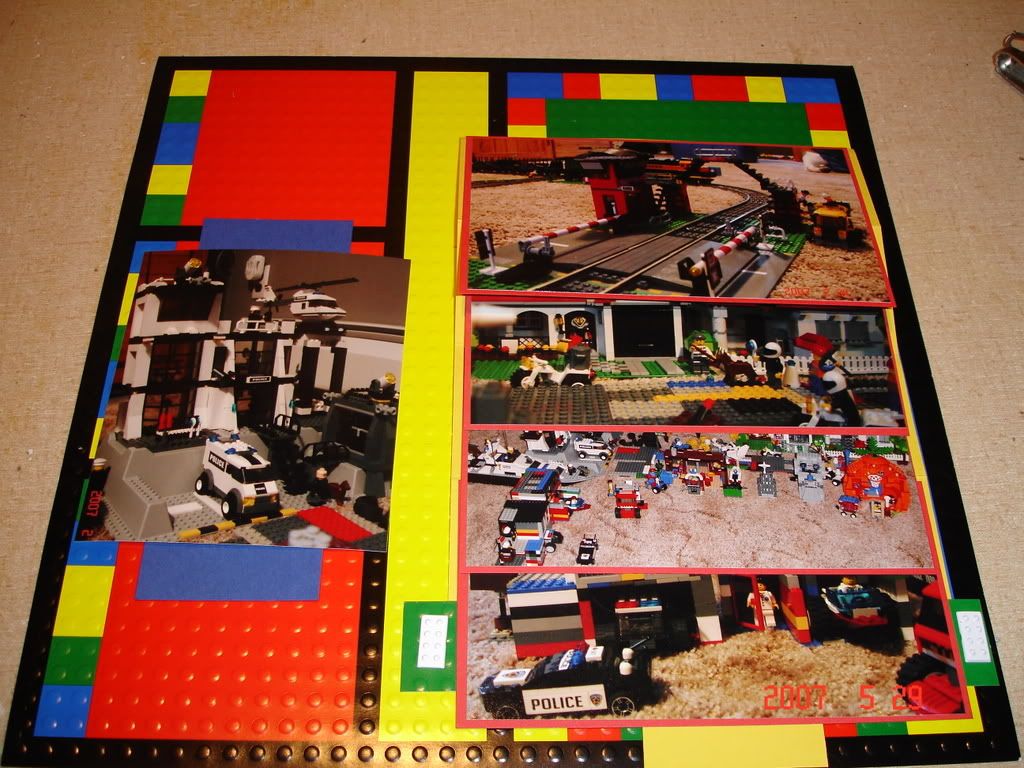
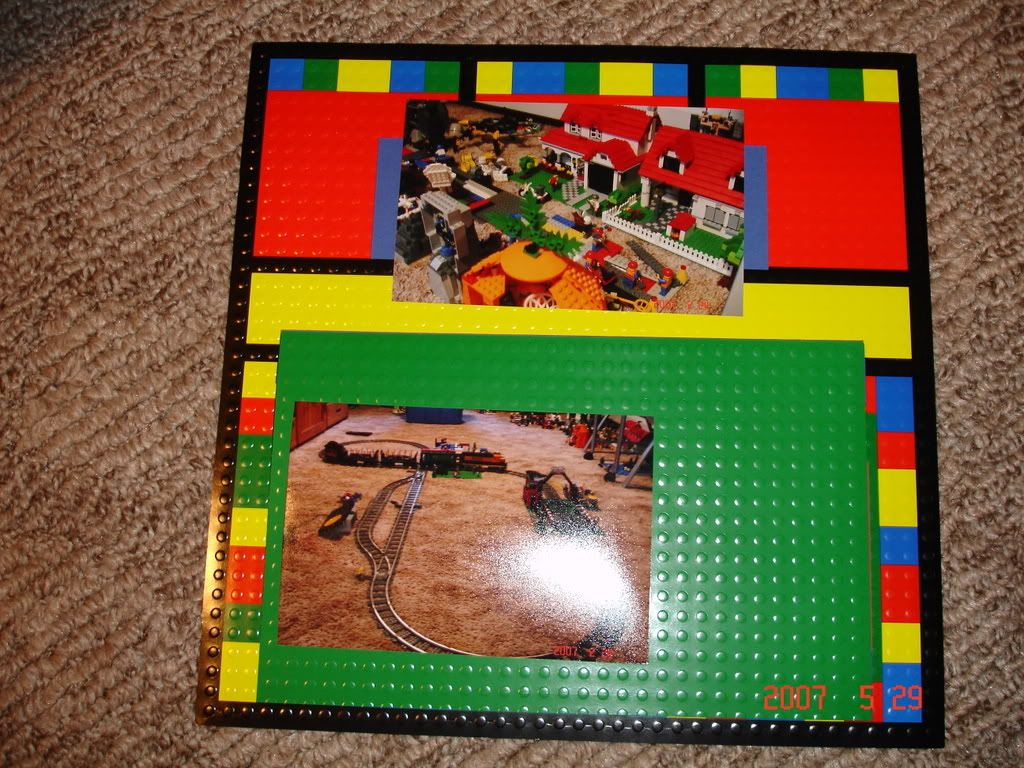
Ever make something or start making something and you instantly want to throw it in the trash! That is how I feel about these Lego layouts. I am so mad because I was so excited to make them! I was so happy when I finally found Lego paper at Archivers a few months ago when I visted my mom.
So I finally get around to making the layout's tonight and UGH! I dont like them at all! The pictures are WAY too busy and the paper...OH MY GOSH....that paper is SO busy! I even tried to make a "waterfall" technique on the paper to "unclutter" it up. But I didnt like that either. (Waterfall is where you kinda stack the photo's and then you can pull a tab and they unfold.....sounds confusing....maybe I'll do a Make it Monday on it:)


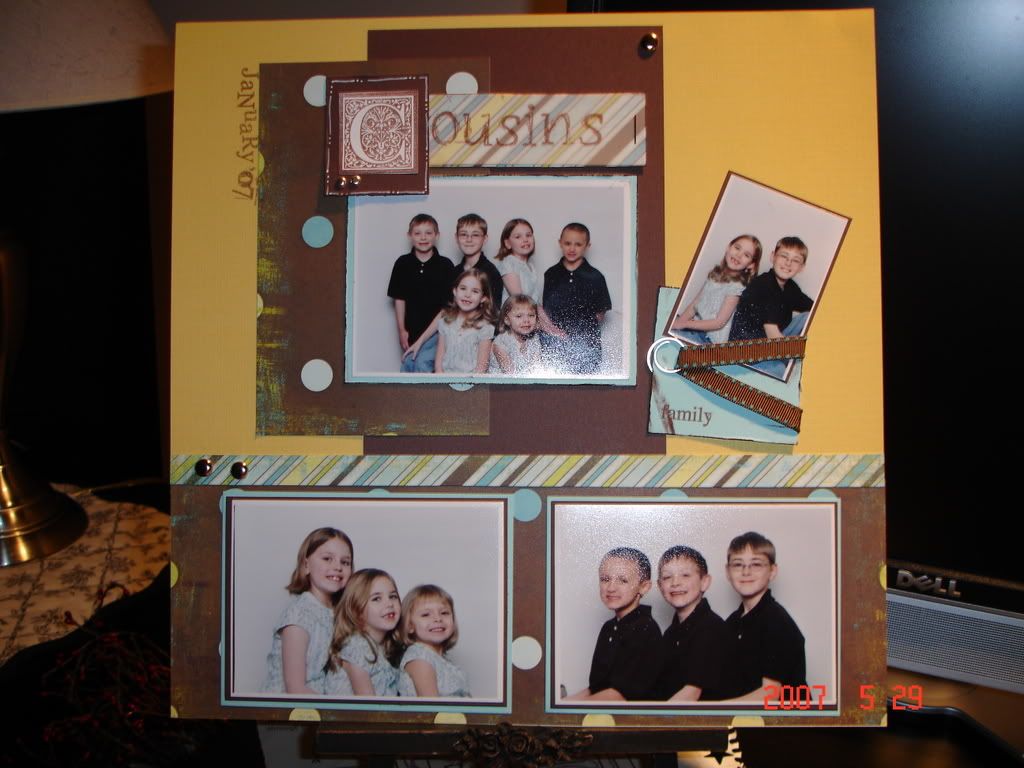
Anyway...so I ended up just putting the dang thing to the side and whipped out some pictures that were pretty nice to look at, the pictures we took of all the grandchildren! We took their pictures together and presented the photo to my mom for her birthday in March. The pictures turned out really cute! So here is my very simple page I did.

TIP: I am not huge into journaling. I really can't stand it. But I didnt want to forget how old the kids were in this photo. So I just put it on the back of the layout. I just wrote it back there, where I sign all my pages and the day we took the picture.
Also, my mother informed me that my directions for the last Make It Monday were too confusing!!LOL Thanks mom!! I was a bit sleepy and hurried when I wrote those out and didnt even proofread them, if you are having trouble with them also, just go to splitcoaststampers.com. At the top of the home page you will see Home-Gallery-Forums-Resources....click on Resources. Then just scroll down to Glitter Window. The turtorial there is much better then mine. (now I am giving away my secrets!!LOL)

Monday, May 28, 2007

Make it Monday

Hello!
Sorry for posting this late. I am sure you can understand with the holiday weekend.
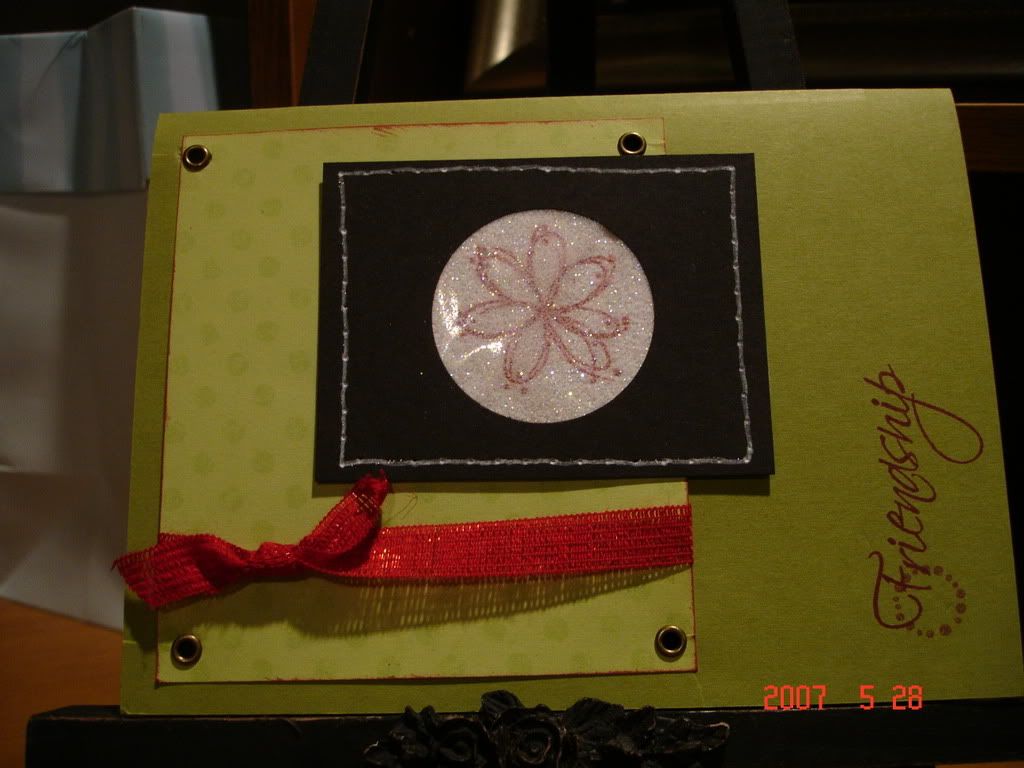
Today I am doing Glitter Window's. These are really cute and easy to make. I found the tutorial on SplitCoast, but I will display it here for you.
The supplies you will need are:
Clear Packing Tape, A Punch (or a template that will cut you out circles and square's),
Glitter, Natural Cardstock, and Colored Cardstock.
Punch one or more whole's in your colored cardstock. (again, you can also cut this out if you do not have a punch)
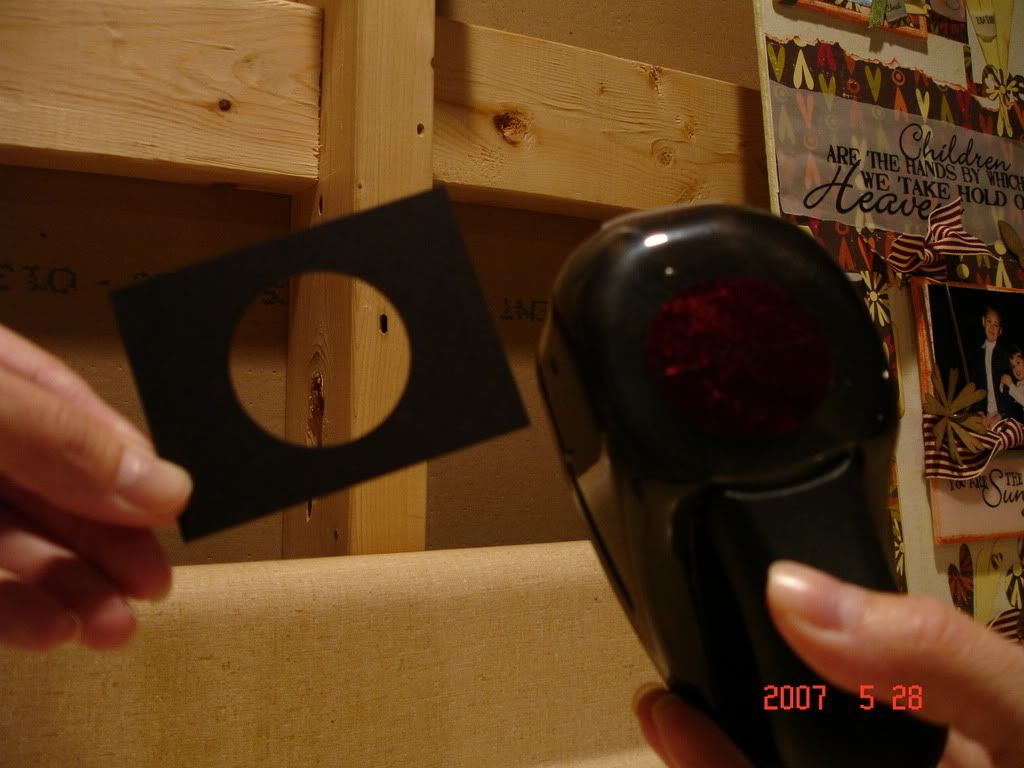
Next lay the window over your natural cardstock (or white) and then stamp on the natural cardstock. (this I dont have a picture of, because I did it out of order...sorry!!)
Flip window cardstock over and apply packing tape over the windows. The sticky side of the packing tape will face the front of the cardstock.
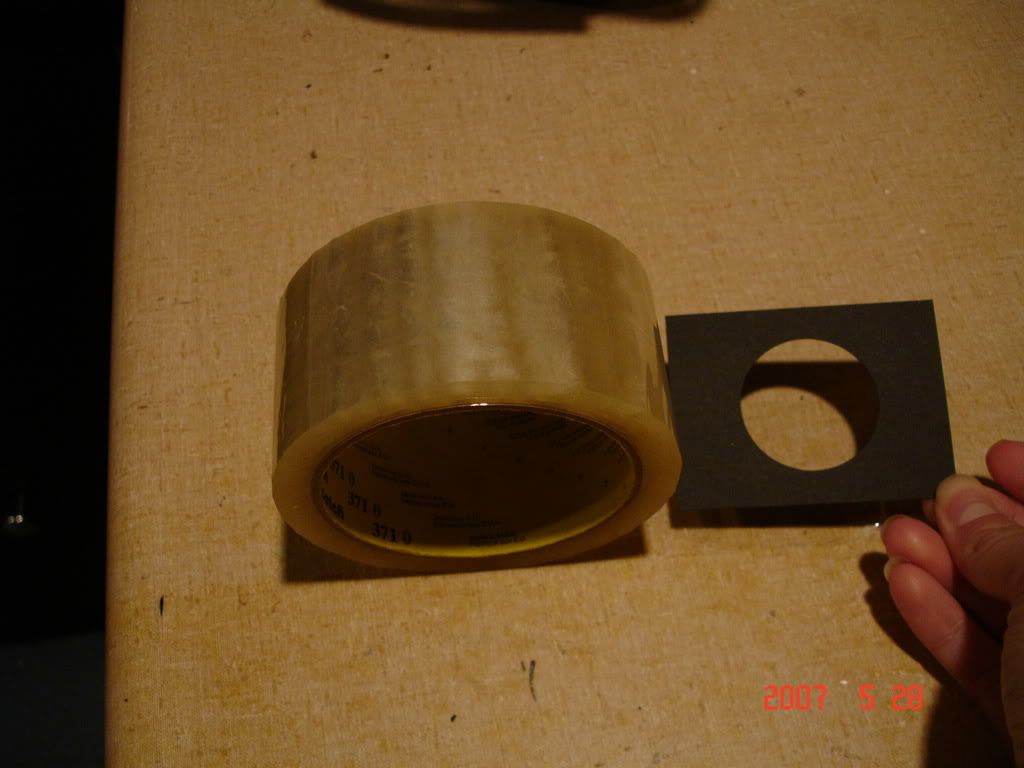
Next, rub the glitter over the sticky side of the packing tape.
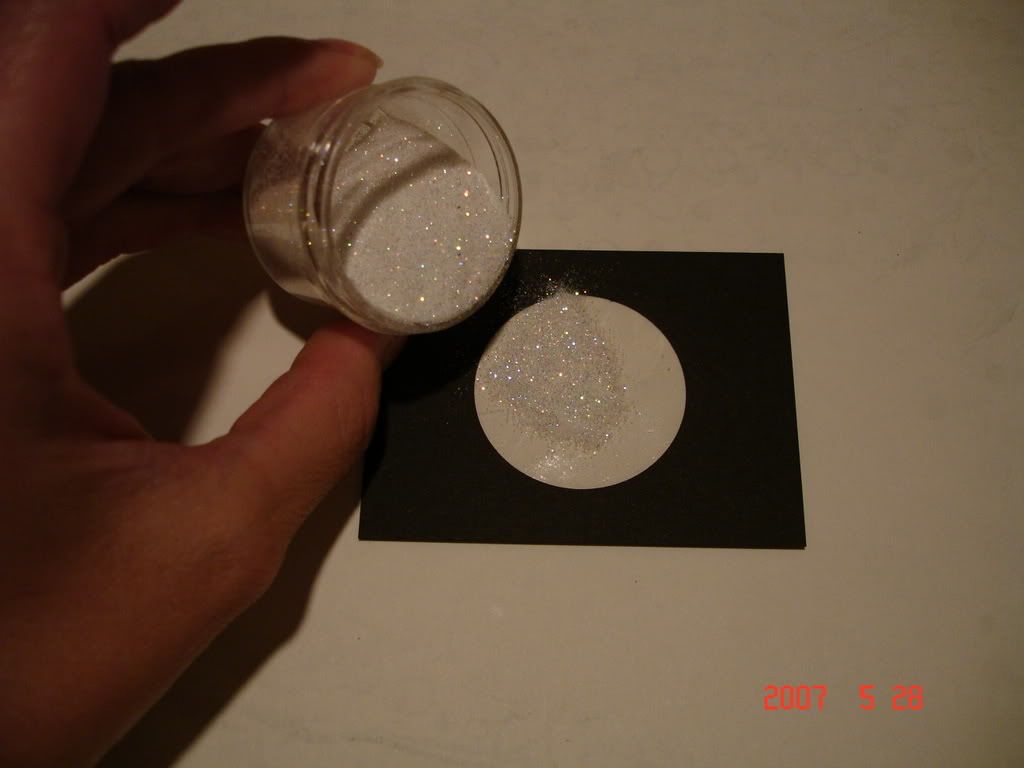
Tap off the excess glitter and put it back in the bottle to conserve.
Next, attach your natural cardstock under your colored cardstock, so that the stamped image is "under" the glitter window.
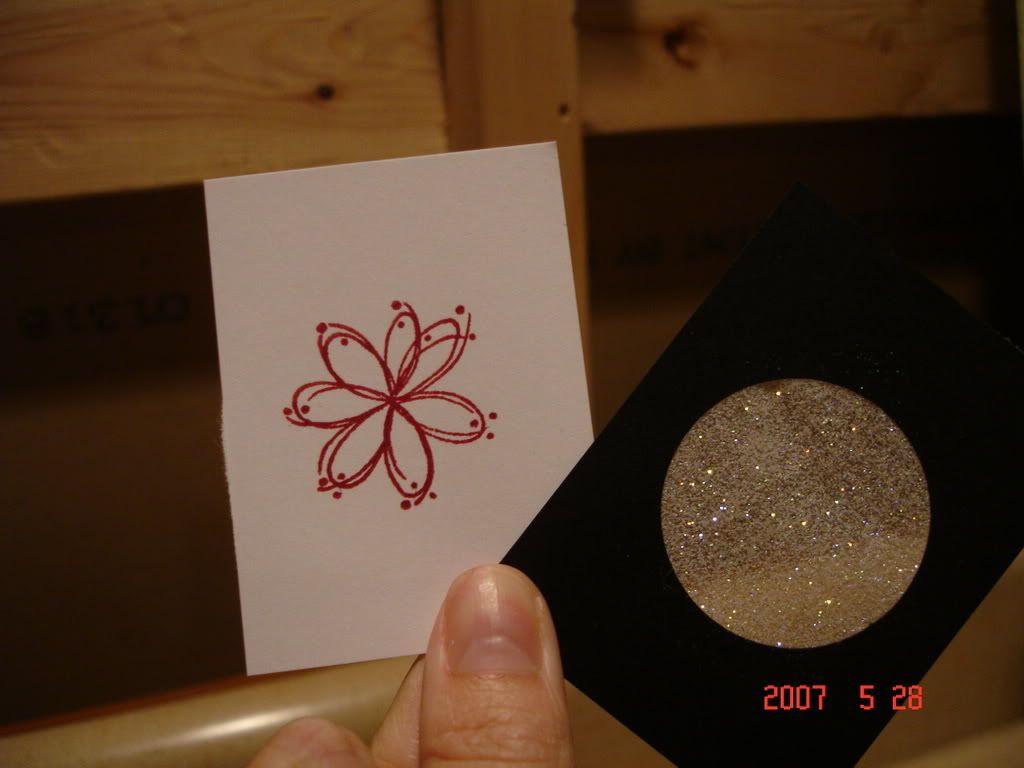
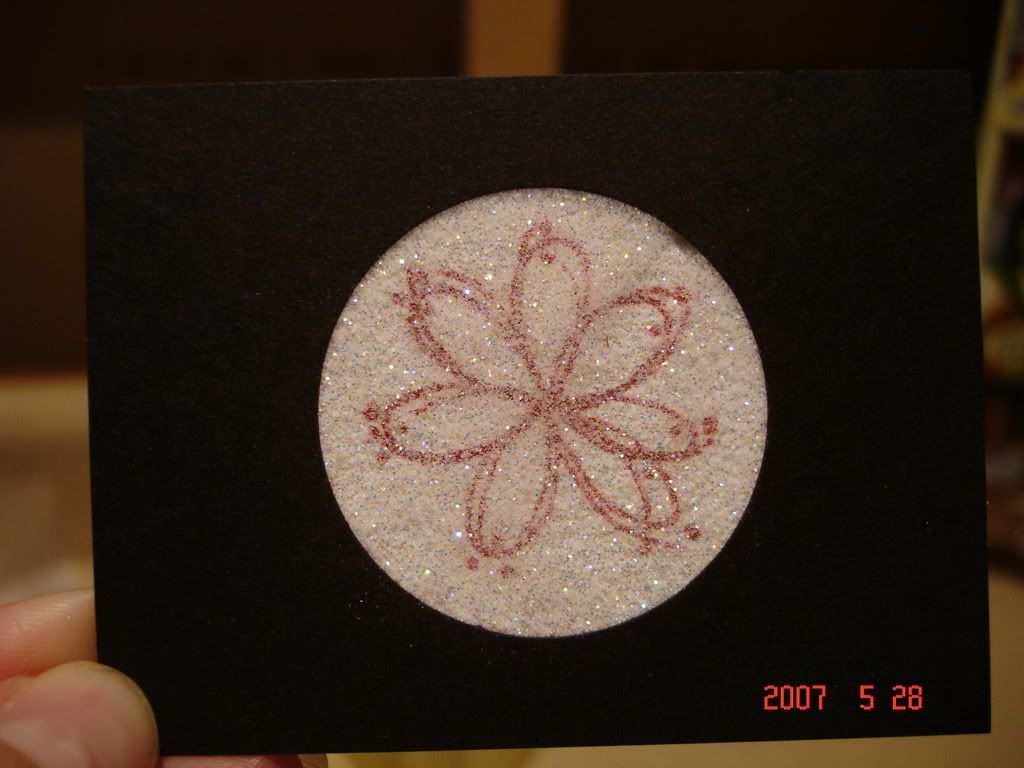
Last but not least, finish your card! Hope that was not too confusing. Let me know if you make any glitter window's for yourself, I'd love to see them!!