Friday, May 11, 2007

Beate's Challenge


Got on one of my favorite blogs today and she had a challenge using a certain layout. You can view her blog by clicking on Fresh & Fun under blogs to the right.
I got a card done today, altering the original version just a bit, but still thought it was cute. Go ahead and use this layout and get a card done today!!

Thursday, May 10, 2007

CMTH Kit Came!!

My kit came! My kit came! I am so excited!! It came 2 day's early!! LOL
It was not supposed to be here until Friday and it came Wed. just before I went to pick my kids up from school. I didnt even have time to open it on Wed. After getting the kids there was Kuk Sool Won practice, cooking dinner, cleaning up dinner, cleaning up kids, reading books, bedtime. By then I was wiped out and ready for bed too. So I just opened it this morning after my friend Robin came over. She helped me go through the kit and explained some things to me. What a great value I got!! Can't wait to start playing with my new stuff. I guess I better find a new home for all that stuff now!LOL
Good thing I finally got my craft room all cleaned up! I'll post pic's later of some of the stuff I got and some stuff I made with it! I can't wait to have my open house.

Wednesday, May 9, 2007

Shane's Story


After checking out my cousin's blog, and looking at the color challenge this week on SplitCoast, I came across this website about a little guy named Shane. Please take a moment to read his story. www.shaneswish.com
I will be sending out my birthday card to him tonight! I am hoping you will join me and send him one too! Please leave a comment and let me know if you sent him a card. I think it will be so neat to send this little guy a smile and maybe his family too. Here is a photo of the card I sent him. Have a wonderful Wed.!!

Tuesday, May 8, 2007

Blog Candy Winner!!

My darling daugher picked a number and she picked number 6!! So Julie H..you are the winner of the chipboard! Just email me your addy and I will get that out in the mail to you this week!
Julie H said...
That would be so fun! I'm just getting into chipboard- can't wait for your ideas on how to use it!

Thanks to all who participated. I hope you got some good ideas on what to do with chipboard. Tune in next week on Make It On Monday when I use canvas!!
Gotta go mow..be back later!!

Monday, May 7, 2007

BEAR WITH ME!!

I am trying to get my blog all pretty for you all but can't seem to get that dang pink on the sides to go away! It is driving me nuts! But it is late and I am tired to I will try again in the morning. And try to make the words on the blog black, so you can see them better!! Hang in there...I'll get it right one of these days!!

10 Cool way's to use Chipboard.....

1. Rubber Stamp it! You can paint it first, but dont have it, get those stamps' out and stamp all over it!
2. Machine Stitch! Just get a heavy duty needle, like that used for jean's, and you can stitch right through it!
3. Heat Emboss! This looks really cool on chipboard. You can also play with it a big to make it look textured.
4. Masking Tape! Cover it with small pieces of cut up masking tape and then use your acrylic paint or even spray paint over it. Gives it a cool textured effect.
5. Button's! You can put button's on it or you can make your chipboard look like button's. All you have to do is cut 2 or 4 holes in the middle of a piece of circle chipboard!
6. Eyelets! Let's not forget those eyelets. One cool thing to do is paint your chipboard brown, put it in the middle of a flower, and put the eyelet all over your chipbaord so that is looks like seeds in teh middle of your flower. (think sunflowers')
7. Hole Punch! Punch wholes in the chipboard so that the paper behind it comes through.
8. Mini Album! Chipboard makes a great mini album. It is so durable!
9. Rub-On's! Dont forget to get those rub-on's out and use them! You can paint the chipboard first but you dont have to!
10. Distress! You can use chipboard just like you do your cardstock. Distress it just like you would CS. Rip it, crinkle it, smoosh it. However you like to distress, go for it!

Another thing to remember about using Mod Podge with chipboard, Mod Podge will alway's stick to itself. Always! So if you mess up, the chipboard piece is not lost! If you dont like the paper you covered it with, just recover it!

Make It Monday!!

Wow!! I have so many ideas on how to use chipboard. Mostly thanks to the class that I took at Creating Keepsakes Convention in April.That was so much fun.
I will do 2 of my all time fav's here with photos.
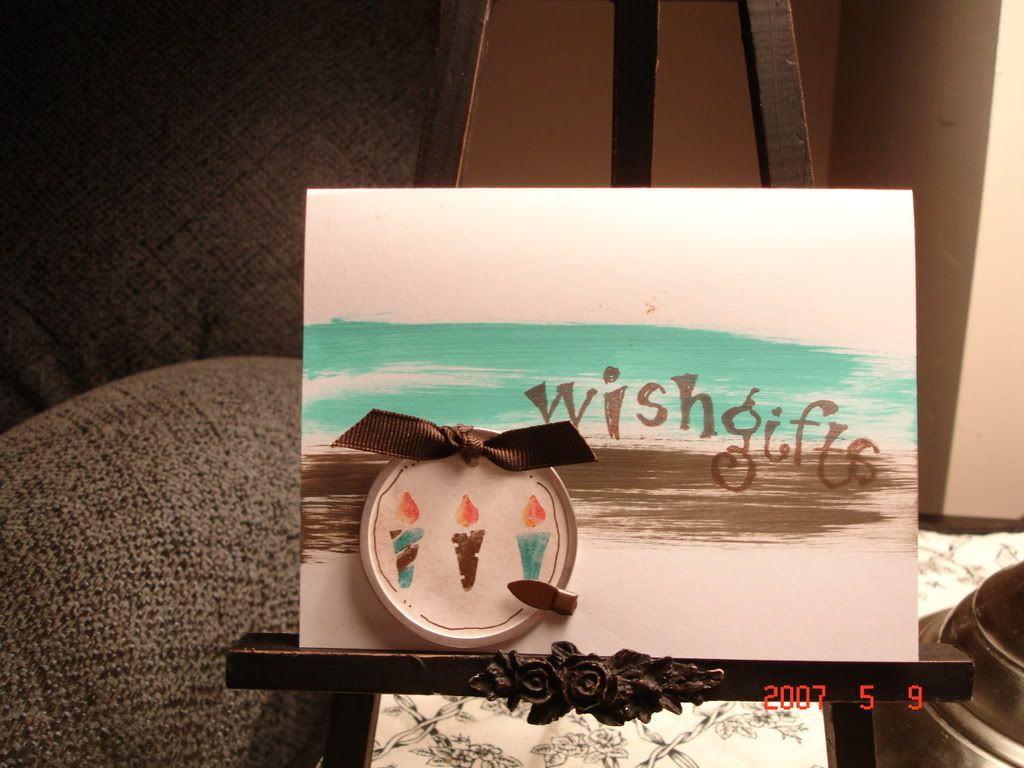
PAINT IT!
I am always painting my chipboard! It is the easiest way to dress it up. In this example,first thing I did was cut out the B from the negative I wanted to use (Not the negative's I am givng away!)
Next, I cover it with paint. I like to use Making Memories paint, however, if you are covering a large amount of chipboard or just starting out, the cheap acrylic paint you can pick up at Walmart for .44 will work just fine! As long as it is acrylic.
After letting it dry, I simply doodled a bit on it. The negative's are so cool because you can put patterend paper behind them and it show's throw. This is the birthday card I made with the B negative. I liked the doodeling on it because you can't really tell that I did not cut out the B perfect.

COVERING IT WITH PATTERN PAPER:
This is also an oldie but goodie. I started off with my plain chipboard letter. This time I used a BIG alpha K from Making Memories.
Having the trusty Mod Podge is a MUST!! You can pick it up at Walmart, Joann's and any art store. It comes in Glossy or Matte. Either one will work for gluing.
So first I always turn my letter over and trace it on the back of the pattern paper.That will help me not have so much extra paper on my letter.
After cutting it out, I slather that Mod Podge all over! All over the back of the pattern paper, and I also like to put some on the item I am gluing it to. So I will also put some on the letter. Then I put my pattern paper onto my letter. I used 3 pieces of Basic Grey for this K. Make sure you really smooth out the bumps. I like to take my rubber brayer and use that to smooth it out. (think of putting up wallpaper and smoothing out the bubbles).
Now comes the neatest trick of all! If you get some extra paper hangin off of the chipboard, all you have to do is sand it off. Really sand it. Get a good piece of sand paper, even a nail file will work. Just sand sand sand and it will come right off. It kinda "cuts" it off of the chipboard.

And that's it! You're done!! Just embelish it however you like. I made this K for my daughter's teacher. I plan on framing it for her.

Youll notice the little tag I put on it. It is also chipboard. I covered it with PP and added rub-on's to it. Then I covered it with a glitter. How fun!

Sunday, May 6, 2007

Thowing it all out!!! (Blog Candy!!)

In the midst of re-organizing my craft room (started with a shelf or two and now has snowballed into the whole room) I am throwing out all of my chipboard negative.
I have a ton of it....
As you can see! But being the ever thrifty person that I am, I cannot just throw it away without at least trying to give it away first!! So I am going to try out my first ever blog candy. Anyone who wants the chipboard negatives, just post a comment below before Tuesday morning at 9am (central) and I will have my hubby draw a number out of the hat. If your number is drawn, I will ship off the chipboard negative your way!!

There is Basic Grey Chipboard Elements, Fancy Pants Designs Flourishes, and all that lovely Joann's chipboard. ton's of alphabets and number along with other great stuff. (And if you can't tell, there are several sheets of the one's standing up.)

If you're not sure what to do with Chipboard, tune in tomorrow for Make it On Monday's. I'll be demonstrating how you can decorate your cards and scrapbooks with chipboard.
Good Luck and Happy Sunday!!