Thursday, July 19, 2007

Friday 20th

At twopeasinabucket, I got to do one of the sketch challenges. I was so excited. Here is the link if you want to go check it out. http://twopeasinabucket.kaboose.com/pg.asp?gallery=3&cmd=display&layout_id=1197068


I have posted previously 2 of the cards that are included in the sketch but here is the last one. It is also a Flap Fold card.


On the blogger challenge today, the question was, Are you more of hand journaling or computer journaling. Well, I used to be 100% computer. My handwriting is horrid, though I like it because it is my own. But lately I have been putting more of my own journaling on my pages. Just so my kids will know what my handwriting looks like. And I am not ashamed of my chicken scratch. Though I would never put it on someone's layout that I was giving as a gift!! LOL

Ps: will be out of town this weekend. Blogging will slow to a stop for a few day's. Will be back hopefully with a Make it Monday on Monday!! Enjoy your weekend all!!

Wednesday, July 18, 2007

Holly Lolly.....


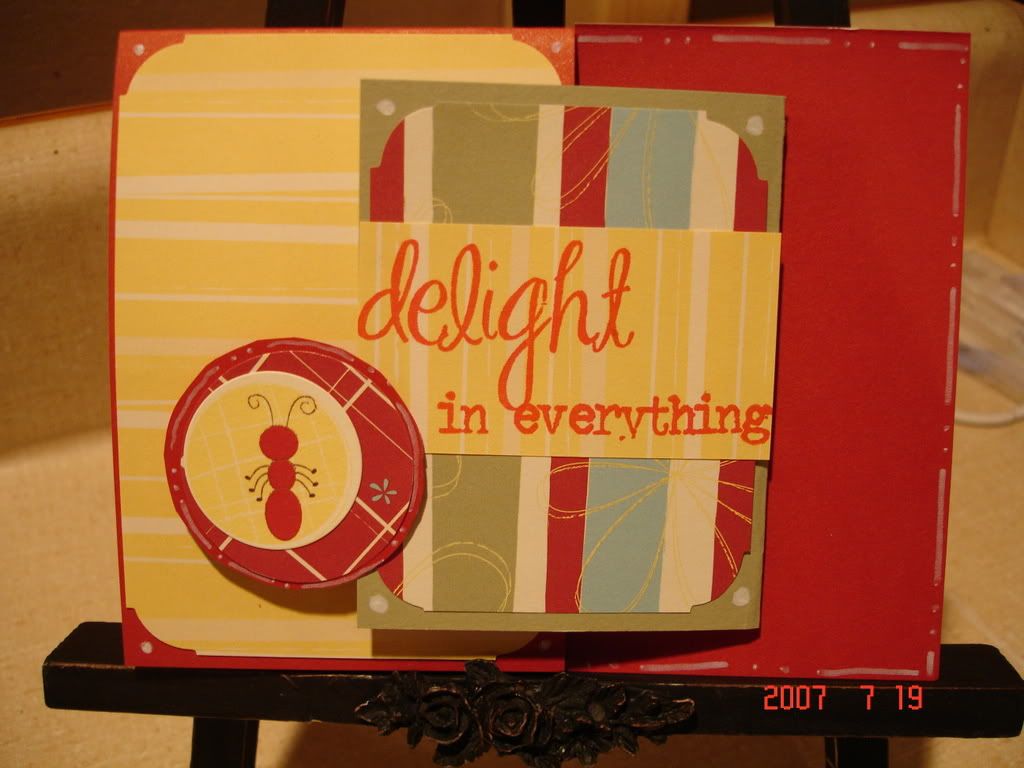
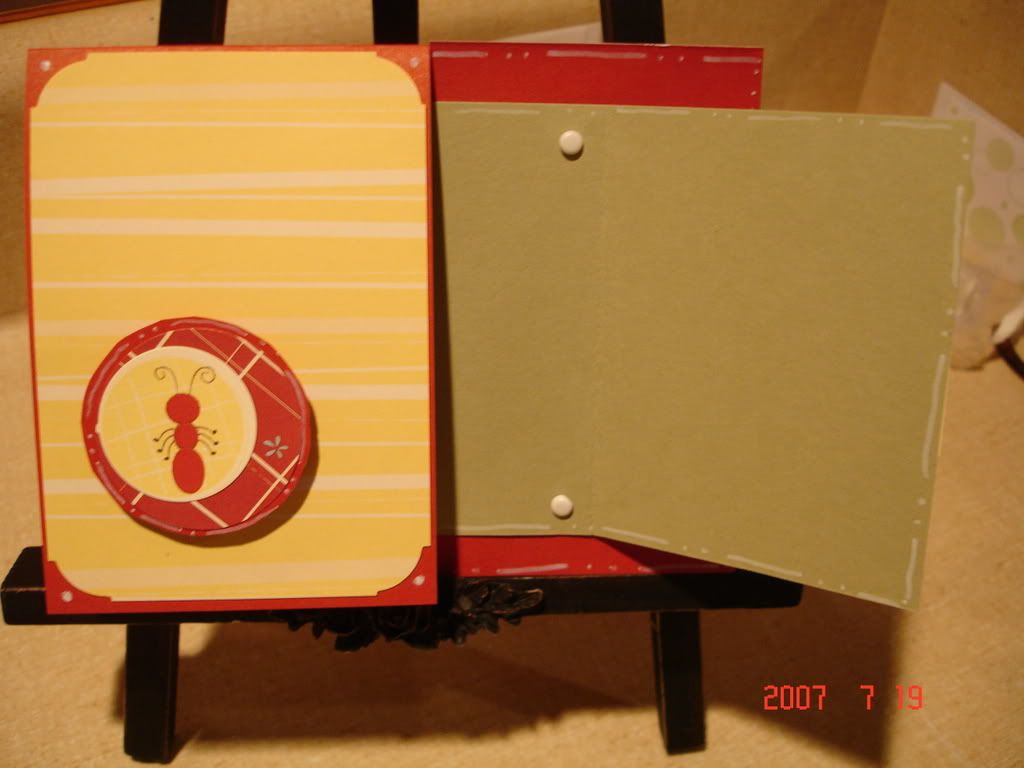
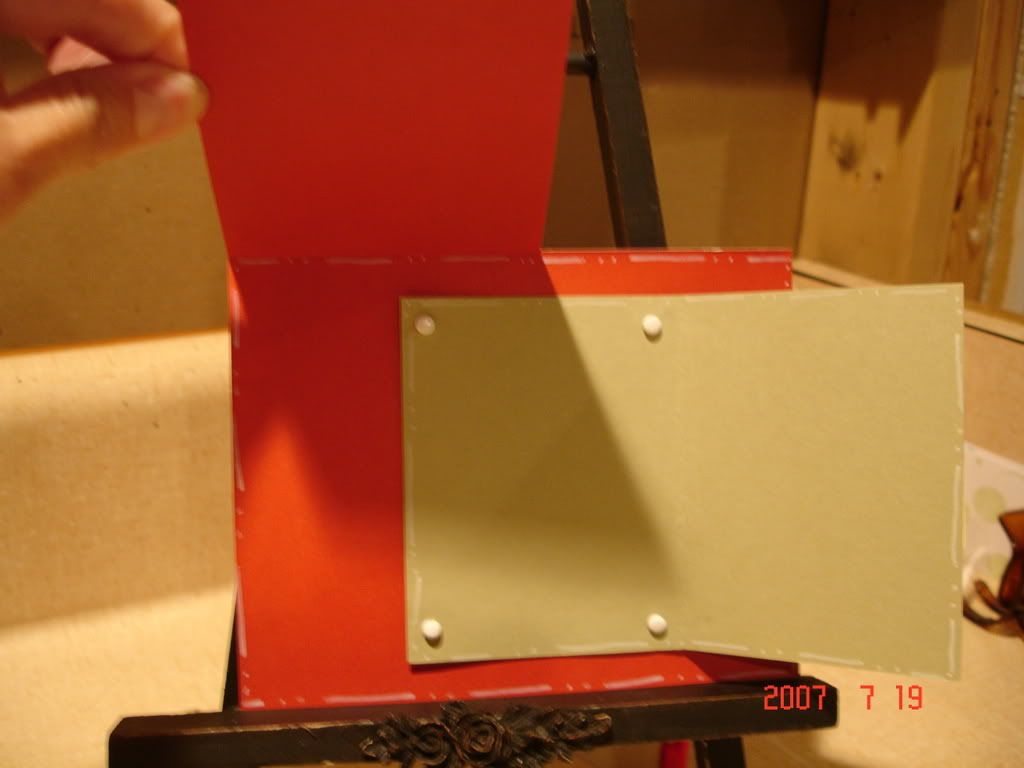
That's what my Grandma calls it....(yes, the fiesty one mentioned below) she calls Hobby Lobby Holly Lolly. Don't ask why..it's just her.
So I got to go to Holly Lolly today! Which is a treat for me since it is 45 min. away! I only make a run up there if the sale's are really good and they have something I'm looking for on sale. Well, my newest thing I am looking for is a scallop punch, like SU sells. I dont really want to pay big bucks for it and H.L had them half off. Oh hell~~~Im there! I also have a family friend (she started off as my mom and grandma's friend and now is mine so her status has been moved up to official friend of the family LOL) she is just starting paper crafts and I took her to enjoy the good sales. She made out like a bandit!! Half off stamps, paper, punches, 40%off flowers at Joanns.


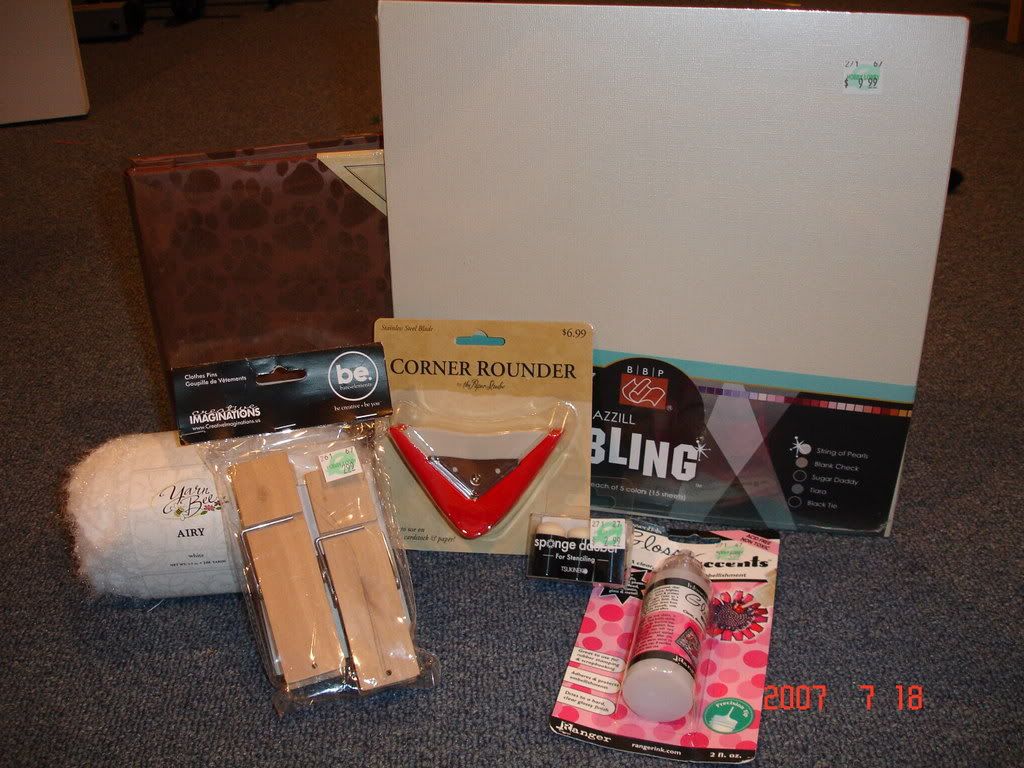
I bought the new Bazzill Bling paper last time I went and it was half off but I only bought the primary colors. Well, a couple months later, I "needed" the neutrals. So I got those this time.
I needed a new corner rounder as I have an old SU one and I hate it. So I got that. A new 8x8 album with paw prints on it for my layouts I just made of Goldie. New fiber that was $5.98 on sale for .99!! Liquid glass....a must. And some big clothspin's to play with. I also bought a pack of 3 daubers. Can you belive I have been stamping for 8 yrs and this is my first package of duabers! lol
Alas..they did not have scallop punch I was looking for. I guess I will try another Holly Lolly on Friday I will be passing by and if nothing else, buy it from SU! lol

TwoPeas Blog Challenge: if you could drive anywhere..where would it be.

Well, Im not a big car rider. I get too antsy. I can't sit still that long. My legs have to move! But I would love love love to get in a car and just ride up the East Coast. Seeing all of those states in the fall. How pretty that would be.Ofcourse, since I am in IL, I would have to take a plane to get to the East coast first! LOL


Monday, July 16, 2007

Tuesday.....

Today is my wonderful, sweet, innocent, grandma's birthday...oh wait...what...you want me to tell the truth?! Oh ok...today is my fiesty, mouthy, spitfire of a grandmother's birthday! LOL
I am heading over there tonight to make her new favorite dinner (catfish). Here is the birthday card I made for her. Not very birthday-ish...but I like that TAC set and I dont get to use it all that often.
Have a great day!


Oh..on two peas.com..the blog challenge was to list 5 things you do every day without fail. That is easy! I do 5 things everyday without fail 10 min. after waking up! lol
So here are my 5.
1. Eat Breakfast..every day..just a habit now.
2. Check my email...usually while eating breakfast! lol
3. Make the beds.
4. Pick up the house..allday...everyday....
5. Sleep IN!!! Only because it is summertime! but i love it!!

Sunday, July 15, 2007

Make It Monday!

Here we are for another addition of Make it Monday. Please let me know if there is something you guys want to see that I am not doing.
The other day I found this great tutorial on Pocket cards. It is so easy to turn the card you are working on now into a pocket card. And it is really fun too! It gives a nice little twist to your cards. They are great for holding gift certificates, fun messeges, announments, photo's and more. On the turotial I found, she gave three examples of 3 different pocket cards. I made some similar to those and will display them now.


The first card I made is the most basic and easiest pocket card. You start with an ordinary card. (I usually make my card 5.5 x 4 1/4)You trim your card to the spine (or fold) about an 1.5 or 2 inches down. Just making a straight cut only to the front of your card. This is the time to decorate the top of the card (the inside). Before you adhere the bottom to the card. On this one, I did not decorate the top of the card.
With this...it was a basic, simple design. I used my sewing machine to stitch the bottom and the sides of the card closed. Making sure not to close the top, that is where the pocket comes in.
I simply made a little tag to go inside for a messege and I was done.


This next one is a little trickier but really cut! It is actually really easy, just a little more work.
This one I cut to the spine with a little wave in it. I took the extra piece that I just cut off and put it at the bottom of the card...that is my second pocket.
I used my sewing machine again to sew the bottom and sides of the pockets to hold everything together.
The tags I made using Clover Medow Green and White cardstock. I simply stamped on them and put a few embellishment's on them. I also made another small tag for the front of the card. That's it!! Easy Peasy!


This last card I had never made before. It is made into a little folder! I made my card with my regulat dimension's. But then I scored 2"from the bottom. You have to then trim each side of the spine up to the fold line to prevent warping when you fold the card closed. (as you can see a gap on the inside of my card.)
Fold the flap's up and add any embellishment's or stamping that you want on the flaps. I chose to close my pockets on the side's with a stapler this time.
Next you can make your tag's or even another small card to go inside the pockets of the card.
Add any embellishments you want and decorate the front of the card as you wish.
How do you like them? I thought they were fun! I am going to give these 3 away to my hostess for my next stamp club! Hope she likes them!
If you would like to see more pocket cards or another tutorial on them, go to Hero Arts.com./learning center. They have a bunch of tutorial's there. You can also go to TwoPeas and punch in pocket cards under search and you will get page after page of ideas!!
Have a great week!!