Saturday, May 26, 2007

New Circle Book

Hello! Happy Saturday!
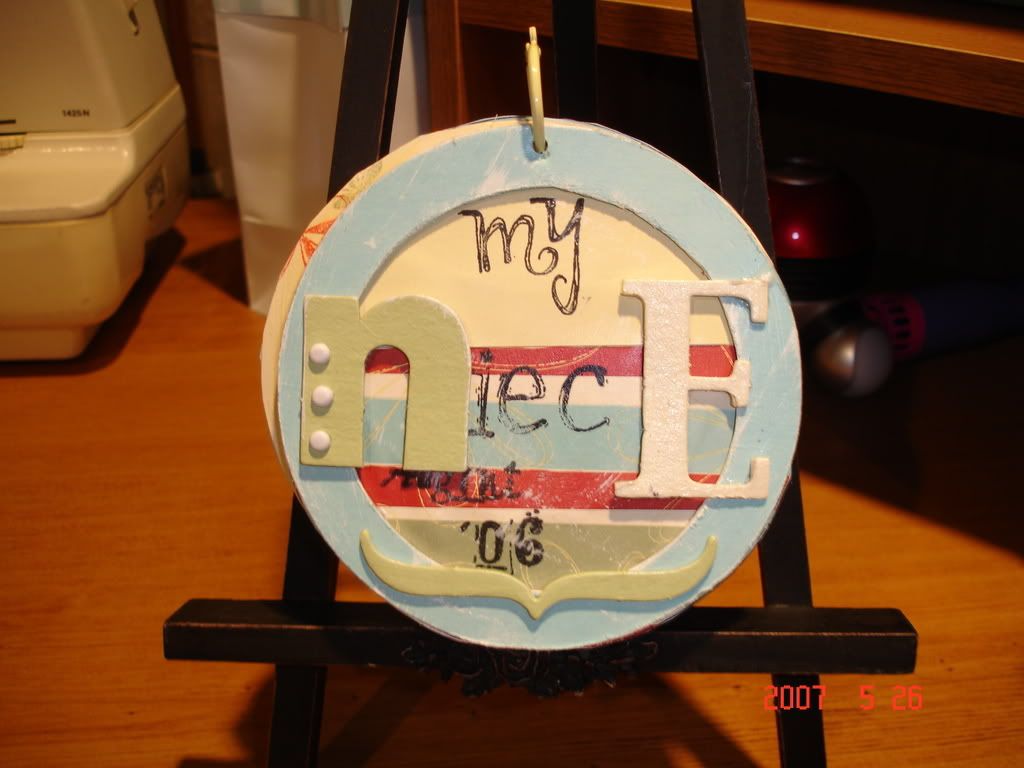
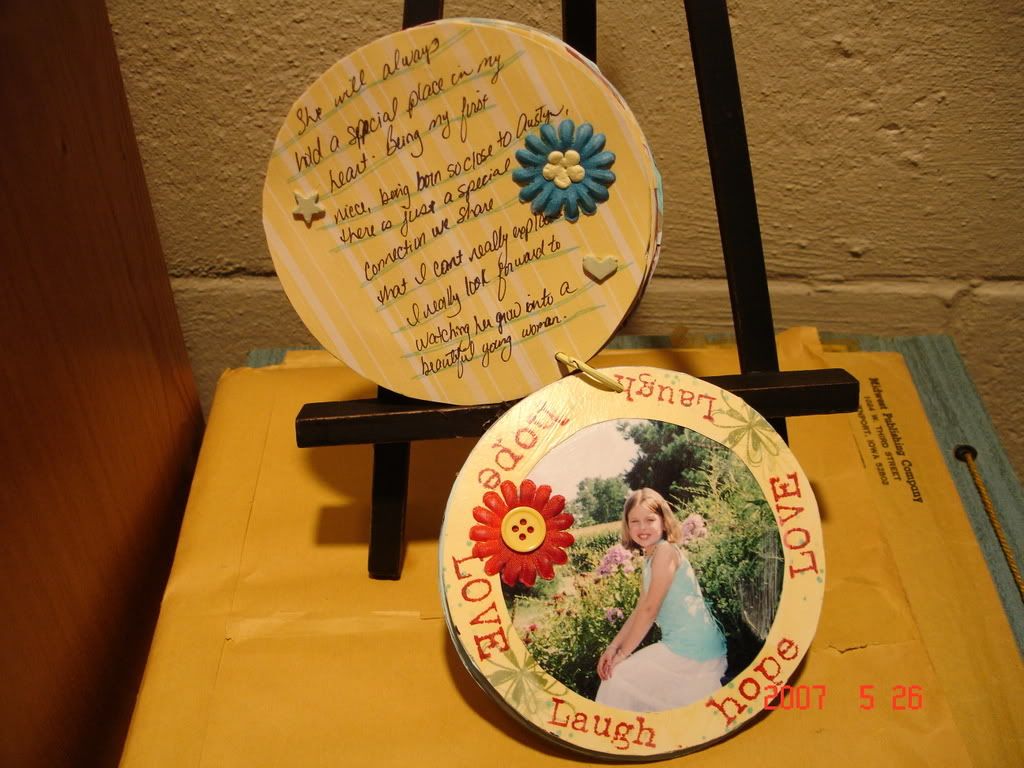
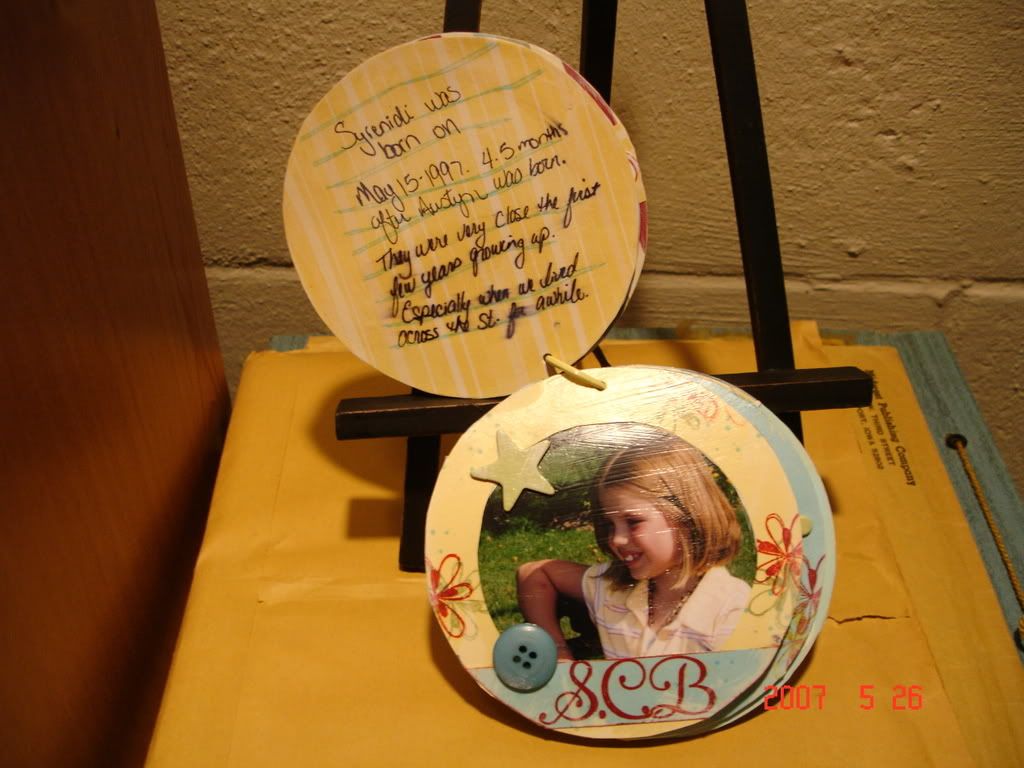
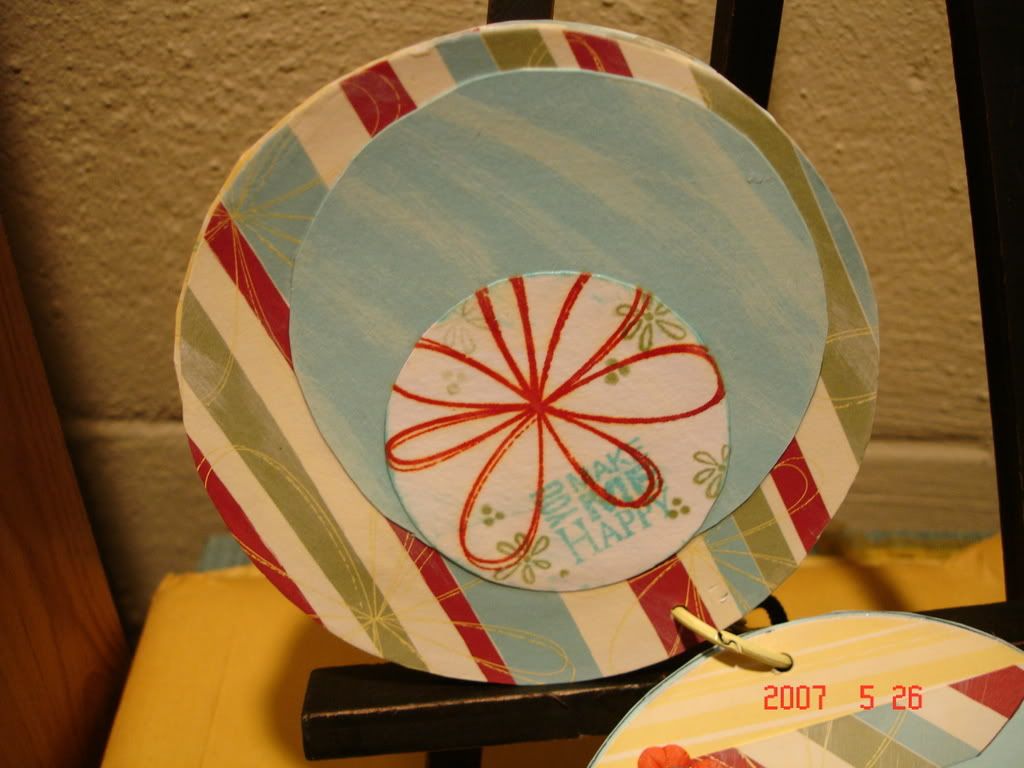
Close To My Heart came out with these really cool little albums. They are circle's and they are only 4.95! They are called My Creation's Circle Album. The front is chipboard and the back cover is chipboard, then you get 10 pages in between to decorate as you like. It also comes with other chipboard elements that you can use throughout your book.
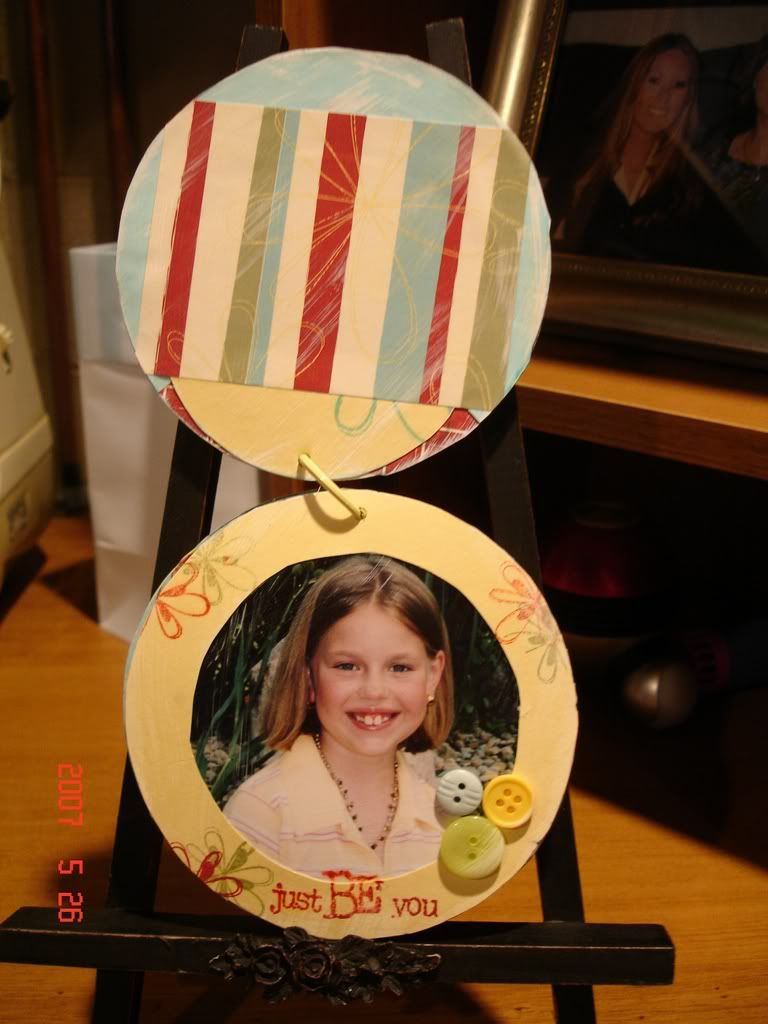
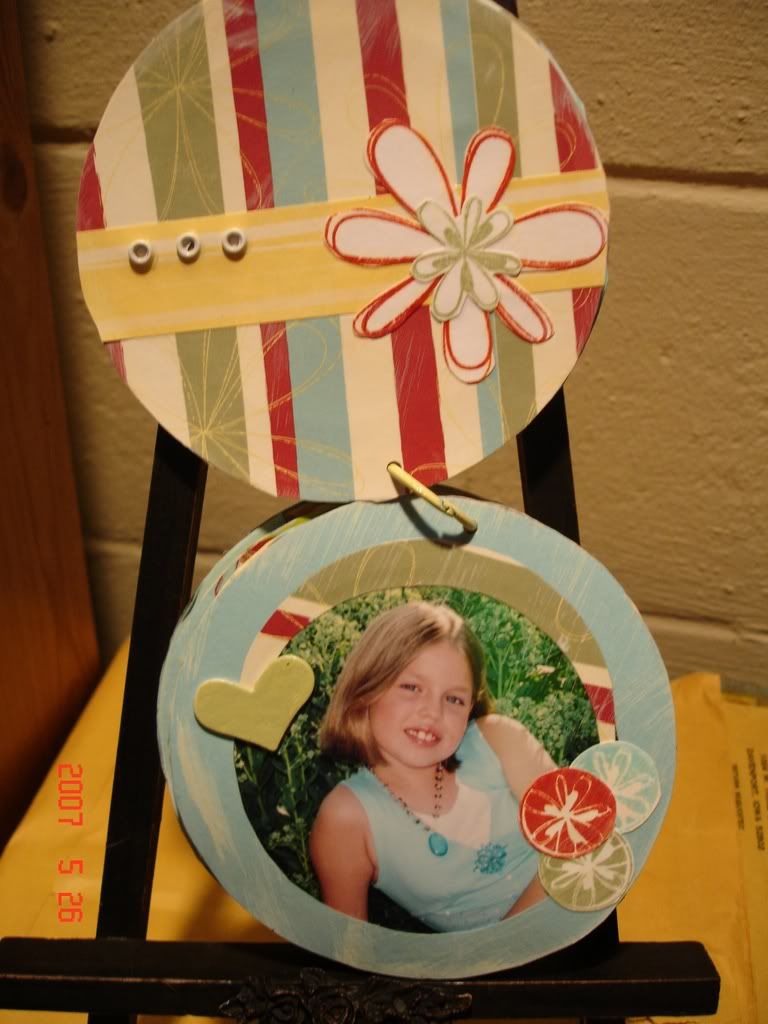
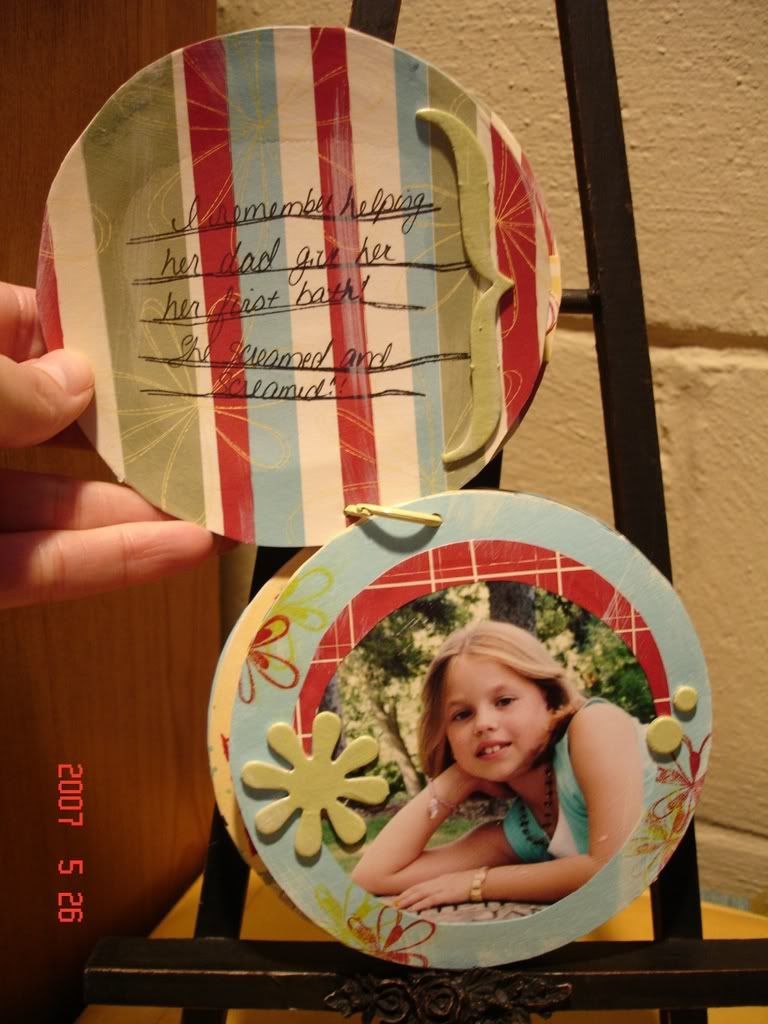
I got mine done today. I didnt want to use the whole 10 pages in side, so I just uncliped the clip and took 5 pages out. I made my book about my niece. I had some great pictures of her from last summer that I shot at a park and thought they would go perfect. (Dont' forget if you want a close up of the picture, just click on it)
Also, just a quick FYI, I will be posting Make It Monday on either Monday evening or Tuesday morning. With the holiday coming, I will be a bit MIA for a while!! Thanks!! Have a Happy Memorial Day!


Wednesday, May 23, 2007

Teacher Gifts!!

After reading a thread on the messege board at Two Peas in a Bucket, I realized that not only was end of the school year near, but so were teacher gifts!! I liked the thread because a lady was asking for a idea's for gifts on a budget, (something I am becoming familier with again) and alot of ppl spoke up. And alot of teachers posted too. It was really nice to get a teacher's perspective on teacher gifts. Most of them said that they appreciated a heartfelt thank you note the most. All of them said they did not want mugs, trinket's and apple items. LOL
So I ran out and got my supplies and got my teacher gifts made today. On that thread, someone posted a few ideas and I snapped one up!
Here are my teacher gifts....


They are jar's that I found at the dollar store. I filled them with Smarties and Dum Dum suckers and the front of them say.....Because of you, I'm no Dum Dum. Im a Smartie!!


I made one for my daughter's teacher, her teacher's aide and my son's teacher. On the teacher aide's jar I wrote, Because you helped, I am no dum dum, I am a smartie.
I thought they turned out adorable! I used pattern paper pack from CTMH and just printed the saying out from my computer.
I plan on having my kids write a thank you note to each teacher themselves.


Let me see what you have planned for teacher gifts! Post a comment with a link to your teacher gifts!!

Tuesday, May 22, 2007

A bit of Personal Good News.....

I dont usually post personal stuff on my blog but I just had to share my happy news. As of last night, we are finally done with the outside of the house!! We have finally finished re-landscaping after putting in new windows, new siding and a new roof last year.
Here are some before and after photos. You can click on them to get a closer view.
Before anything was done to the house....


How it sat for a year after the windows,siding and roof got put on.


And the finished result. Picture taken this morning. That is my hubby at the side in the side yard!LOL


I think it turned out really pretty. I got to pick out the light post! LOL That's about as far as my input went on the project. And I made him fan out the stairs. Which were a real pain. I have a very handy man (did this all himself with his dad's help) and he is also a perfectionist. So as long as he does not try to give me input on the inside of the house, I kept my mouth shut on the outside.
Thanks for looking!

Sunday, May 20, 2007

Make it Monday!!

Hello there! Time for another Make it Monday! I am posting this a bit early (Sunday night) as I will be MIA on Monday and swamped on Tuesday. I'm sure you won't mind.
Today we are going to make a card using the Faux Linen technique. Sounds tricky, but it is REALLY easy!
This will allow your cards and paper creation's to have the look of linen, without actually using linen.
The material you will need for the project are:
Glossy Cardstock ( i tried it with regular, and it does NOT work)
Ink, Sponge and Medium Sandpaper.
And ofcourse whatever stamps you want to use.

First thing you will do is stamp whatever background you want on the glossy cardstock. You have to wait until the stamped image dries before moving on to step number 2. This can take awhile with glossy. I took an embossing gun and heated it up to speed up the process. Here is my glossy cardstock, all stamped and ready for the next step.

Step two, you will take the sandpaper and sand the entire piece of glossy making vertical lines. Then you will repeat this process making horizontal lines also. This is what will give you the linen look.


Step 3: Apply a colored ink to your stamped, sanded glossy cardstock. You can work this however you like, to whatever lightness or darkness that suits you.
Here I used a blue on top of the black that I stamped before.I also used a sponge for this.


Step 4: you can then go over your cardstock with the sandpaper again to lighten your ink you just sponged on.


Here is a close up of my cardstock all done.....


I love it!! And here is my card all finished up! You can click on the photo's for an up close look at them.
I hope to see your creation's you make with this technique! Thanks for looking!!