Sorry for posting this late. I am sure you can understand with the holiday weekend.
Today I am doing Glitter Window's. These are really cute and easy to make. I found the tutorial on SplitCoast, but I will display it here for you.
The supplies you will need are:
Clear Packing Tape, A Punch (or a template that will cut you out circles and square's),
Glitter, Natural Cardstock, and Colored Cardstock.
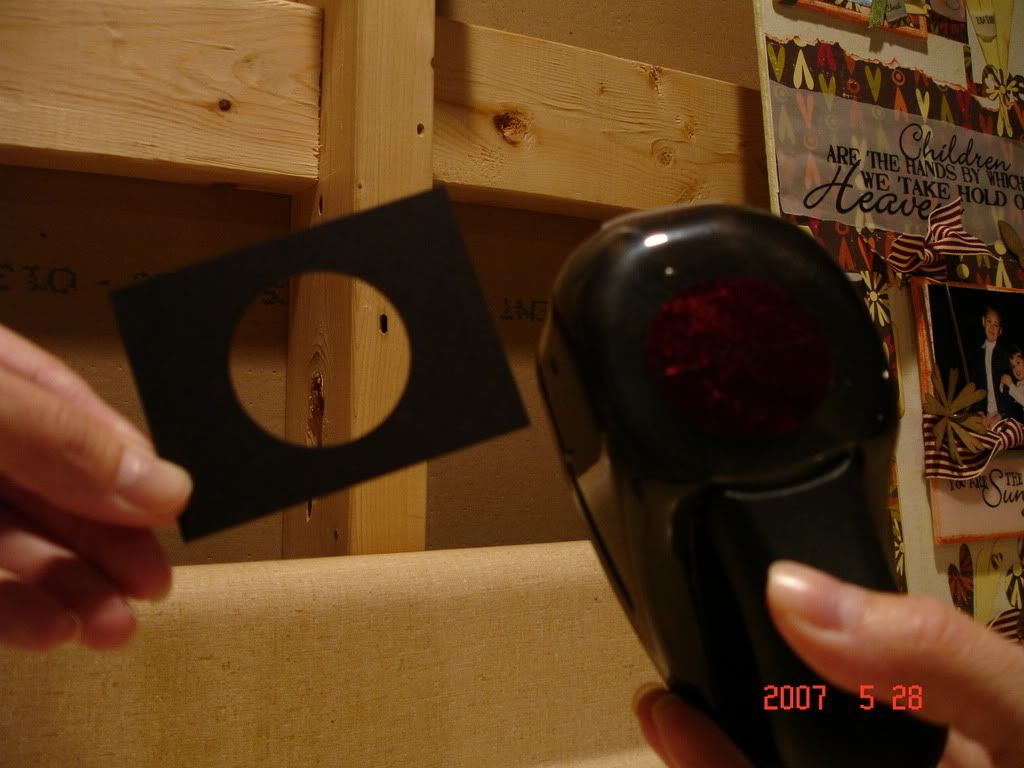
Punch one or more whole's in your colored cardstock. (again, you can also cut this out if you do not have a punch)
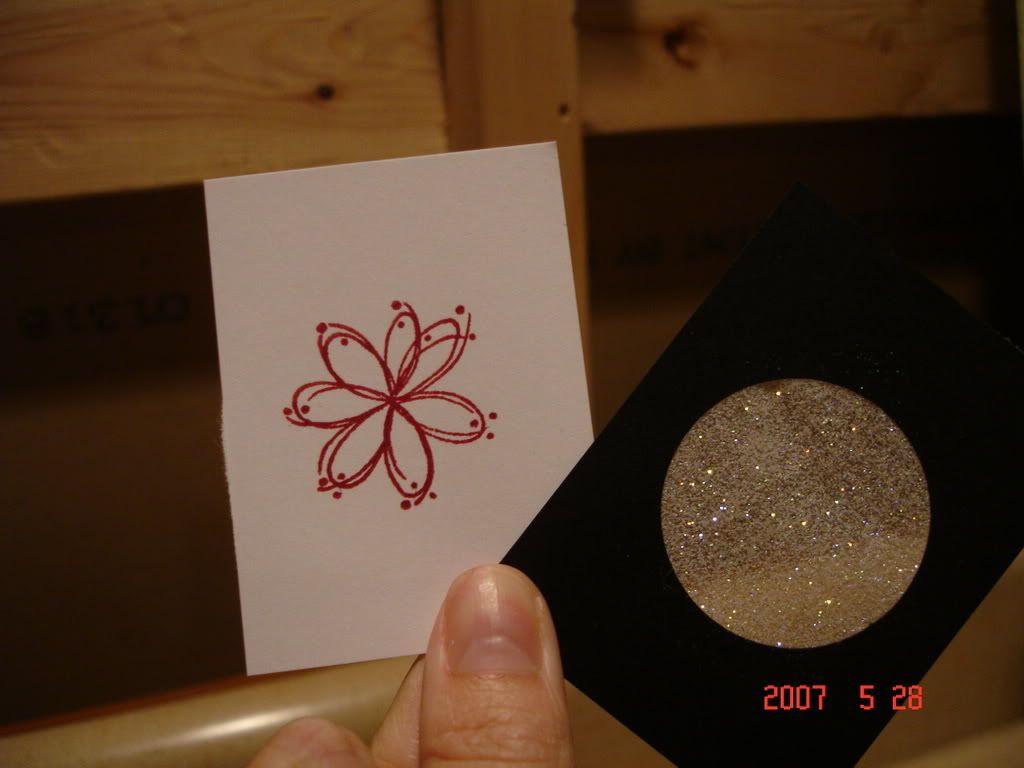
Next lay the window over your natural cardstock (or white) and then stamp on the natural cardstock. (this I dont have a picture of, because I did it out of order...sorry!!)
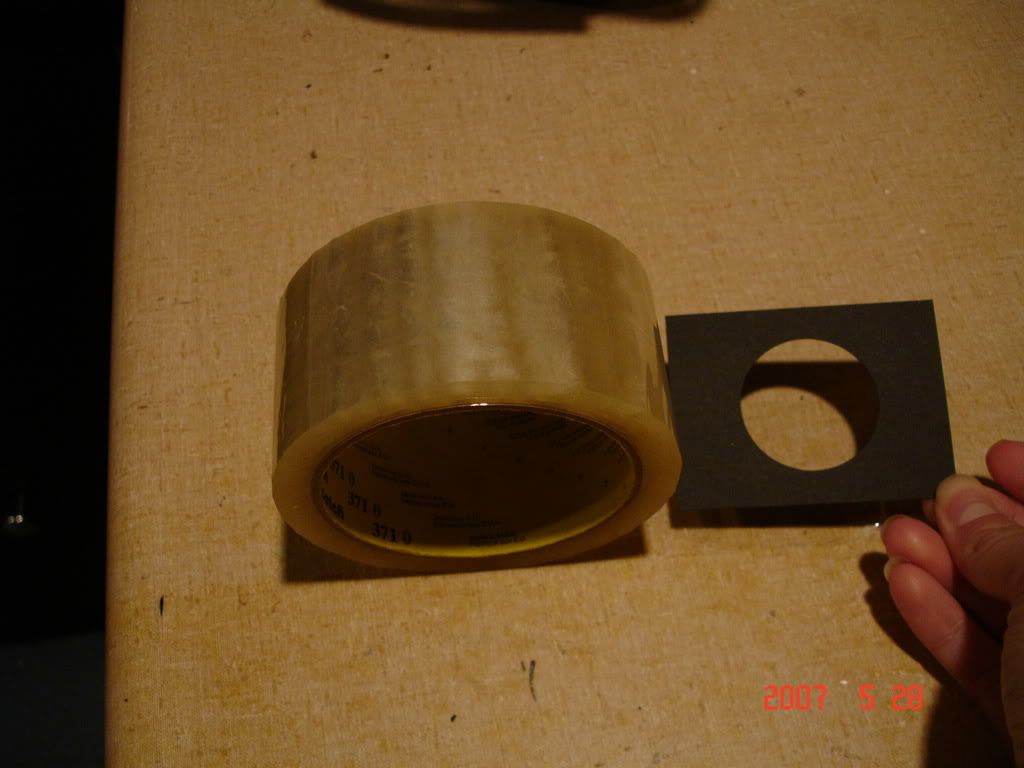
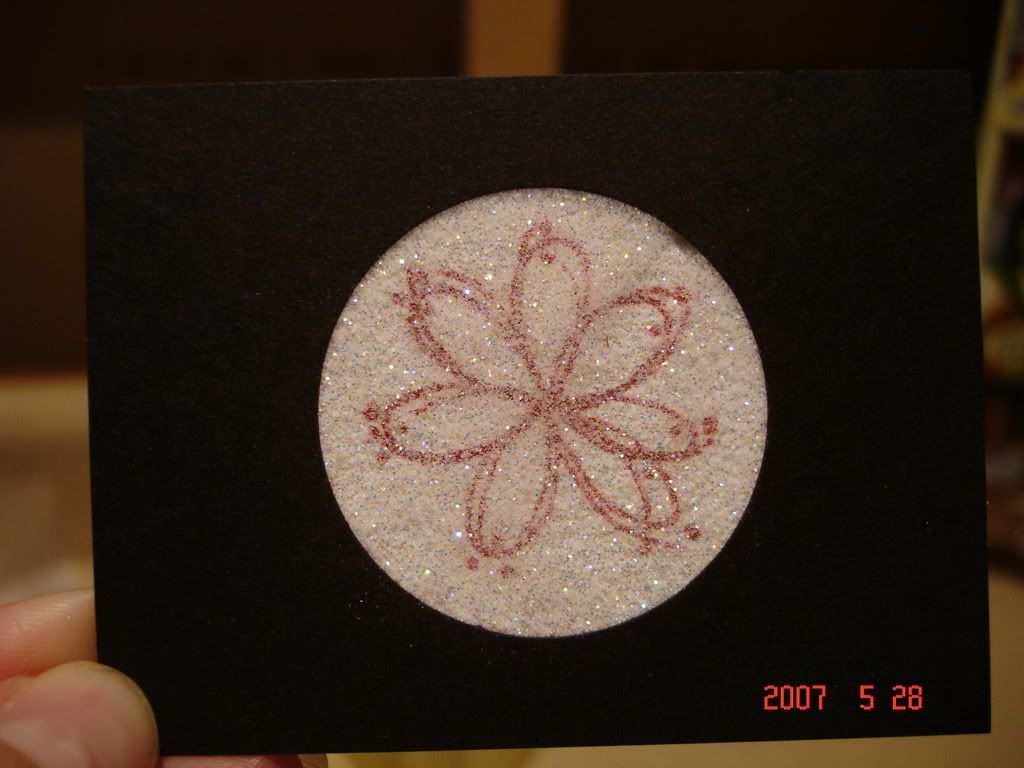
Flip window cardstock over and apply packing tape over the windows. The sticky side of the packing tape will face the front of the cardstock.
Next, rub the glitter over the sticky side of the packing tape.
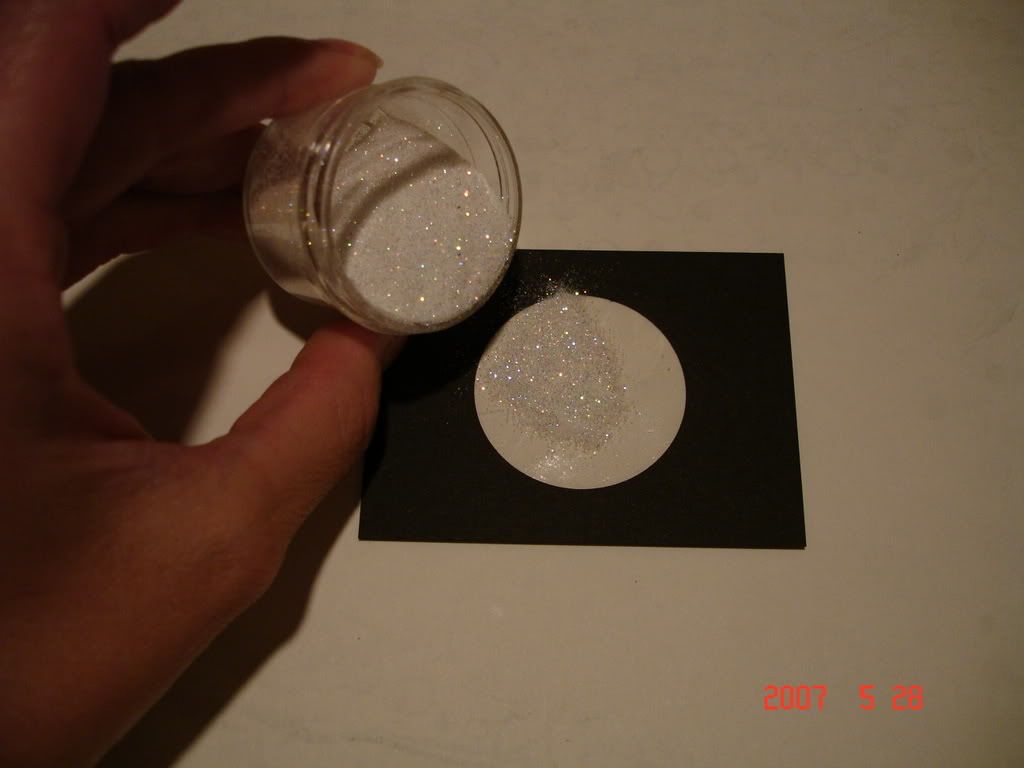
Tap off the excess glitter and put it back in the bottle to conserve.
Next, attach your natural cardstock under your colored cardstock, so that the stamped image is "under" the glitter window.
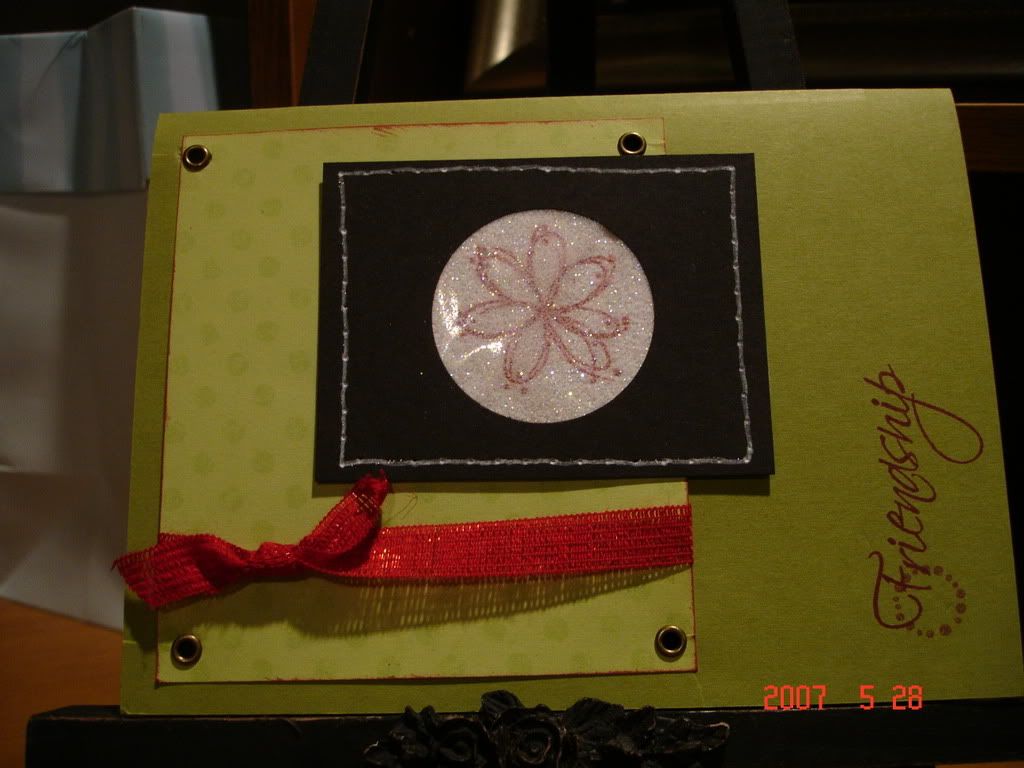
Last but not least, finish your card! Hope that was not too confusing. Let me know if you make any glitter window's for yourself, I'd love to see them!!
5 comments:
Wow it just looks so easy with your tutorial! I'm glad I found your blog!
Your card is really cute! You can also use clear contact paper and get the same effect. That way if you want a bigger circle you can cut it out of the contact paper, whereas the packing tape is only so wide. Just thought I'd share that tip!
That is why I love you...you are smarter then me!!LOL
Good idea!
pretty! I like the colors you used too. Glitter is something that catches every ones eye.
this is so cool! thanks for sharing it! :)
Post a Comment