The other day I found this great tutorial on Pocket cards. It is so easy to turn the card you are working on now into a pocket card. And it is really fun too! It gives a nice little twist to your cards. They are great for holding gift certificates, fun messeges, announments, photo's and more. On the turotial I found, she gave three examples of 3 different pocket cards. I made some similar to those and will display them now.
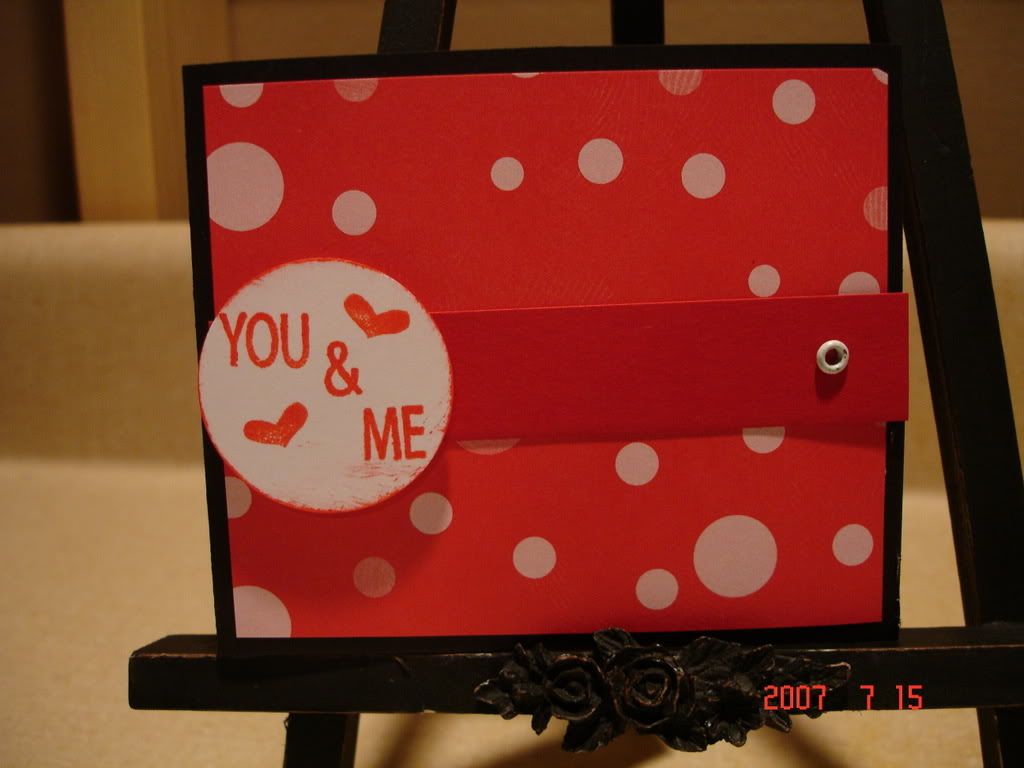
The first card I made is the most basic and easiest pocket card. You start with an ordinary card. (I usually make my card 5.5 x 4 1/4)You trim your card to the spine (or fold) about an 1.5 or 2 inches down. Just making a straight cut only to the front of your card. This is the time to decorate the top of the card (the inside). Before you adhere the bottom to the card. On this one, I did not decorate the top of the card.
With this...it was a basic, simple design. I used my sewing machine to stitch the bottom and the sides of the card closed. Making sure not to close the top, that is where the pocket comes in.
I simply made a little tag to go inside for a messege and I was done.

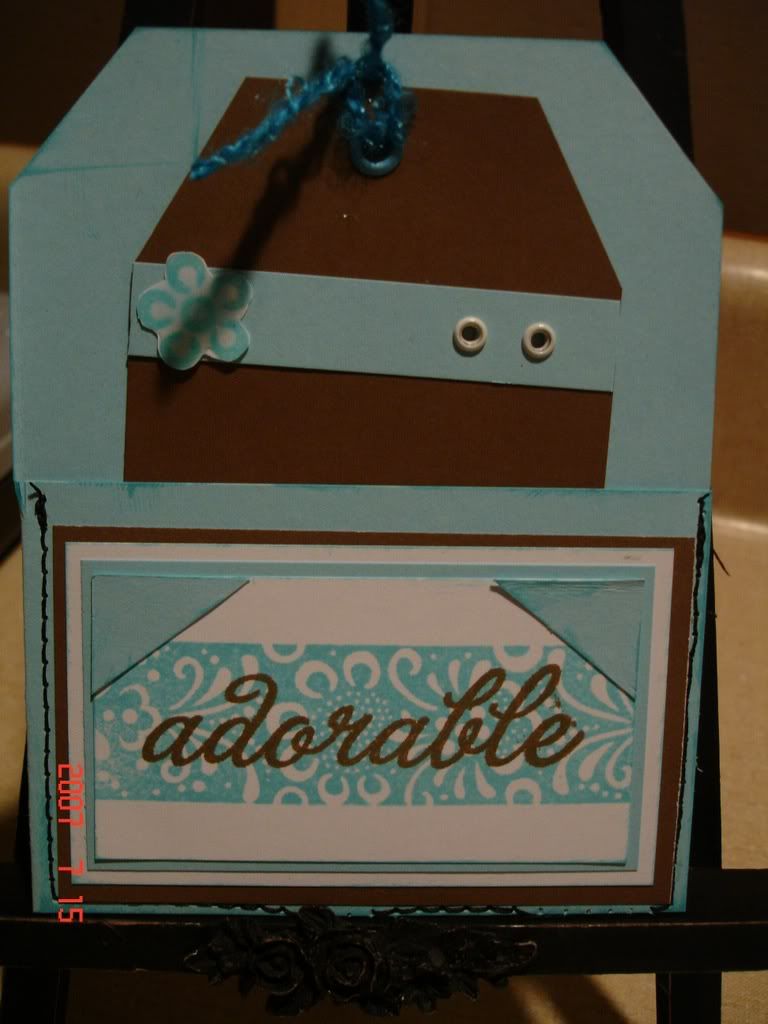
This next one is a little trickier but really cut! It is actually really easy, just a little more work.
This one I cut to the spine with a little wave in it. I took the extra piece that I just cut off and put it at the bottom of the card...that is my second pocket.
I used my sewing machine again to sew the bottom and sides of the pockets to hold everything together.
The tags I made using Clover Medow Green and White cardstock. I simply stamped on them and put a few embellishment's on them. I also made another small tag for the front of the card. That's it!! Easy Peasy!
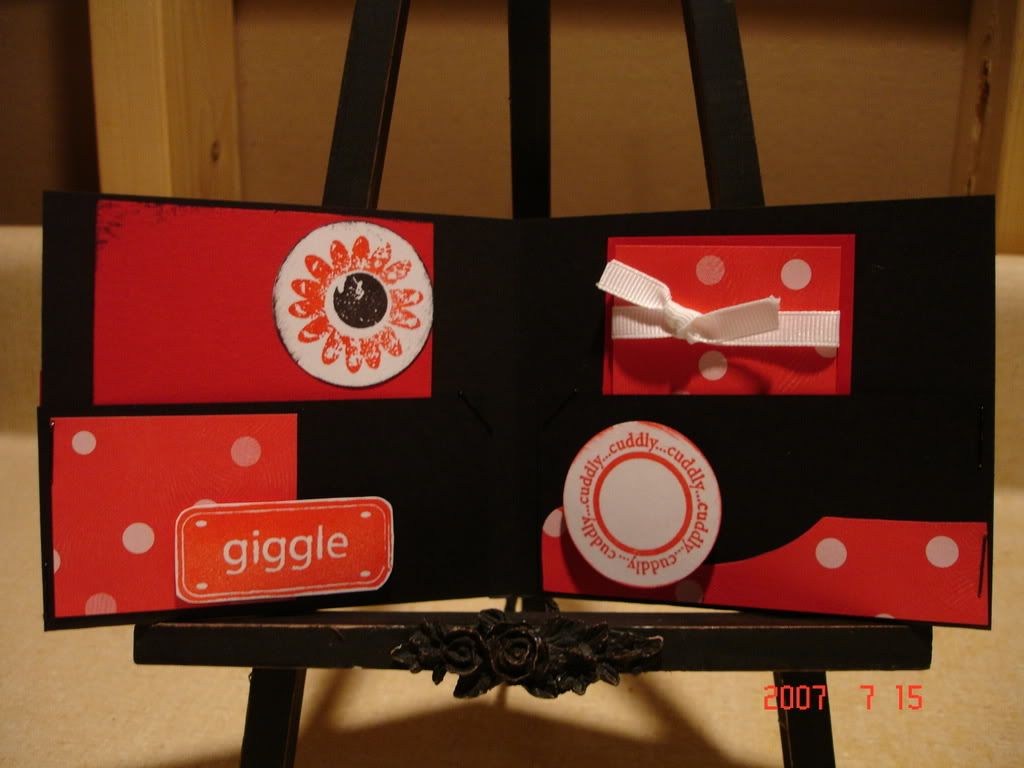
This last card I had never made before. It is made into a little folder! I made my card with my regulat dimension's. But then I scored 2"from the bottom. You have to then trim each side of the spine up to the fold line to prevent warping when you fold the card closed. (as you can see a gap on the inside of my card.)
Fold the flap's up and add any embellishment's or stamping that you want on the flaps. I chose to close my pockets on the side's with a stapler this time.
Next you can make your tag's or even another small card to go inside the pockets of the card.
Add any embellishments you want and decorate the front of the card as you wish.
How do you like them? I thought they were fun! I am going to give these 3 away to my hostess for my next stamp club! Hope she likes them!
If you would like to see more pocket cards or another tutorial on them, go to Hero Arts.com./learning center. They have a bunch of tutorial's there. You can also go to TwoPeas and punch in pocket cards under search and you will get page after page of ideas!!
Have a great week!!
2 comments:
Cute cards!
Love the blue and brown colour combo
I love pocket cards and yours are fabulous! They reminded me that I need to try some more again soon - thanks for the inspiration!
Post a Comment